Getting Started
So you’ve just bought your first drone and you’re ready to take to the skies. Setting up your drone for the first time can be a bit overwhelming, but don’t worry, I’m here to guide you through the process step by step.
Unboxing Your Drone
The first step in setting up your drone is unboxing it. Make sure to carefully remove all the components from the box and lay them out in front of you. Check for any damage or missing parts before proceeding.
Reading the Manual
I know, I know, reading the manual may not be the most exciting part of setting up your drone, but trust me, it’s crucial. The manual will provide you with essential information on how to operate your drone safely and effectively. Take the time to familiarize yourself with the manual before moving on.
Charging Your Drone Batteries
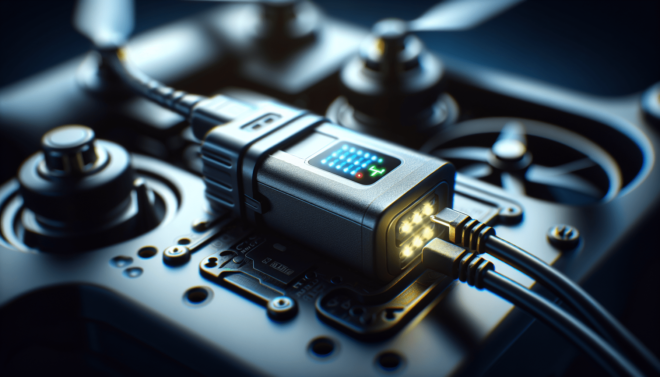
Now that you’ve unboxed your drone, it’s time to charge the batteries. Most drones come with rechargeable batteries that need to be charged before your first flight. Here’s how to do it:
Charging the Drone Battery
Locate the battery compartment on your drone and remove the battery. Connect the battery to the charger provided in the box and plug it into a power source. Allow the battery to charge fully before reinserting it into the drone.
Charging the Remote Controller
Don’t forget about the remote controller! Make sure to charge the remote controller using the charging cable provided. A fully charged remote controller is crucial for a smooth and hassle-free flying experience.
Installing the Propellers
Next up, it’s time to install the propellers on your drone. Properly installed propellers are essential for stable and safe flight. Here’s how to do it:
Identify the Propellers
Most drones come with two sets of propellers: one set with black tips and one set with silver tips. Make sure to match the propellers with the corresponding motors on your drone.
Attaching the Propellers
Carefully attach the propellers to the designated motors on your drone. Make sure to follow the arrows or markings on the propellers to ensure that they are installed correctly. Tighten the propellers until they are secure but be careful not to over tighten them.
Connecting Your Smartphone
Many drones come with the option to connect your smartphone to the remote controller for a better flying experience. Here’s how to do it:
Download the App
Before connecting your smartphone to the remote controller, make sure to download the corresponding app for your drone model. The app will provide you with additional features and settings to enhance your flying experience.
Connecting Your Smartphone
Once you’ve downloaded the app, turn on your drone and the remote controller. Open the app on your smartphone and follow the on-screen instructions to pair your device with the remote controller. Once connected, you’ll have access to live video feed, flight telemetry, and more.
Calibrating Your Drone
Calibrating your drone is an essential step to ensure stable flight and accurate controls. Here’s how to calibrate your drone:
Compass Calibration
Compass calibration is crucial for accurate navigation and flight stability. Follow the instructions in the manual to calibrate the compass on your drone. Make sure to do this in an open area away from any magnetic interference.
IMU Calibration
IMU calibration helps your drone maintain its balance during flight. Follow the instructions in the manual to calibrate the IMU on your drone. Ensure that your drone is placed on a level surface during the calibration process.
Pre-Flight Checklist
Before you take your drone for its first flight, make sure to run through a pre-flight checklist to ensure everything is in order. Here’s what to check:
Battery Levels
Check the battery levels on both your drone and the remote controller. Make sure they are fully charged before takeoff to avoid any mid-flight mishaps.
Propeller Tightness
Double-check the tightness of the propellers to ensure they are securely attached. Loose propellers can lead to unstable flight and potential damage to your drone.
Safety Precautions
Make sure you are flying in a safe and open area away from people, buildings, and other obstacles. Follow all local laws and regulations regarding drone flight.
Taking Off
Congratulations, you’ve made it to the fun part – taking off! Here’s how to do it safely and smoothly:
Powering On
Power on your drone by pressing the power button on the drone itself. Wait for the drone to initialize and establish a GPS lock before takeoff.
Lift Off
Slowly push the throttle stick on your remote controller to lift your drone off the ground. Take it easy on your first flight and get a feel for the controls before attempting any advanced maneuvers.
In-Flight Tips
Once you’re up in the air, here are some tips to keep in mind for a successful flight:
Stay Calm
Flying a drone for the first time can be nerve-wracking, but remember to stay calm and composed. Smooth and gentle movements are key to a stable flight.
Keep Line of Sight
Maintain a clear line of sight with your drone at all times to avoid collisions and ensure safe flight. Avoid flying your drone out of your line of sight or in crowded areas.
Land Safely
When it’s time to land your drone, reduce the throttle gradually to descend safely. Avoid abrupt movements or landing on uneven surfaces to prevent damage to your drone.
Conclusion
Setting up your drone for the first time can be a daunting task, but with the right guidance, it can be a smooth and enjoyable experience. By following the steps outlined in this guide, you’ll be ready to take your drone to the skies and start capturing breathtaking aerial footage. Remember to always fly responsibly and follow all local drone regulations to ensure a safe and enjoyable flying experience. Happy flying!

