
How Do I Ensure My Drone’s Camera Is Properly Aligned?
Understanding the Importance of Properly Aligned Drone Camera
Ensuring that your drone’s camera is properly aligned is crucial for capturing high-quality photos and videos. A misaligned camera can result in tilted or skewed images, ruining the overall appeal of your footage. To avoid this issue, it is essential to understand how to check and adjust your drone’s camera alignment regularly.
Why is Camera Alignment Important?
Camera alignment is important because it directly impacts the quality of the images and videos captured by your drone. A misaligned camera can lead to distorted and unprofessional-looking footage. Proper alignment ensures that your shots are accurately framed, level, and well-balanced, resulting in visually appealing content that is suitable for various purposes such as photography, videography, and surveying.
Checking Your Drone’s Camera Alignment
Before attempting to align your drone’s camera, it is essential to check if it is misaligned in the first place. Here are some simple steps to help you determine if your camera needs adjustment:
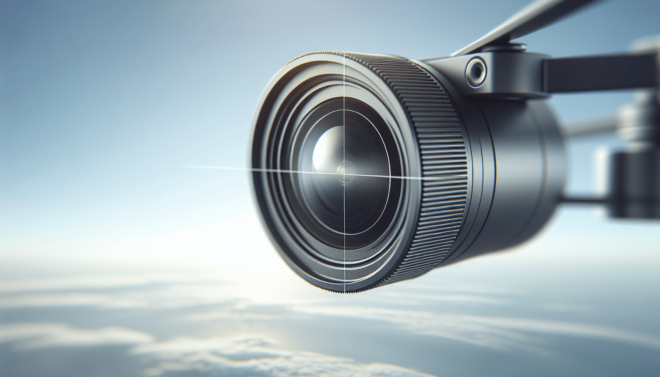
1. Visual Inspection
Start by visually inspecting your drone’s camera while it is powered on. Take note of any noticeable tilting, skewing, or misalignment of the camera lens compared to the drone’s body. Look for any physical indicators that suggest the camera is not level or straight.
2. Test Shots
Take a few test shots or record a short video with your drone to assess the quality of the footage. Pay close attention to the horizon line and other vertical or horizontal reference points in the frame. If you notice any consistent tilting or skewing in the footage, it is likely that your camera needs alignment.
3. Utilize Camera Alignment Tools
Some drones come equipped with built-in camera alignment tools or features that help you determine if your camera is properly aligned. Refer to your drone’s user manual or settings menu to access these tools and perform a camera alignment check.
Aligning Your Drone’s Camera
Once you have confirmed that your drone’s camera is misaligned, it is time to align it properly. Here are some steps to help you adjust your camera for optimal alignment:
1. Calibrate the Gimbal
Start by calibrating the gimbal of your drone, if applicable. The gimbal is the component that holds and stabilizes the camera during flight. Follow the manufacturer’s instructions on how to calibrate the gimbal to ensure it is properly aligned before adjusting the camera itself.
2. Adjust Camera Angle
If your drone allows manual adjustment of the camera angle, use the remote controller to tilt or rotate the camera until it is level and aligned with the horizon. Make small, incremental adjustments and check the alignment after each change to ensure the camera is set to the desired angle.
3. Use Reference Points
When aligning your drone’s camera, it can be helpful to use reference points in the environment to ensure accuracy. Look for straight lines, edges, or known landmarks in the distance that can serve as visual cues for aligning the camera correctly.
4. Test and Fine-Tune
After making initial adjustments to your drone’s camera alignment, take another set of test shots or record a short video to evaluate the results. Pay attention to the framing, levelness, and balance of the footage to determine if further fine-tuning is needed.
Troubleshooting Common Camera Alignment Issues
Despite your best efforts, you may encounter some common camera alignment issues while working with your drone. Here are some troubleshooting tips to help you address these issues effectively:
1. Crooked Horizon Line
If your drone’s footage consistently shows a crooked horizon line, it is likely that the camera is not properly aligned. Revisit the alignment steps mentioned earlier and make adjustments to ensure that the camera is level and parallel to the horizon.
2. Skewed Images
Skewed images occur when the camera is tilted or rotated at an angle, resulting in distorted visuals. Use the camera angle adjustment feature on your drone to straighten the camera and eliminate any skewing in the footage.
3. Poor Framing
Poorly framed shots can be a result of improper camera alignment or lack of attention to composition. Pay close attention to the framing of your shots, ensuring that the subject is centered, balanced, and well-positioned within the frame for a visually appealing composition.
4. Inconsistent Footage Quality
Inconsistent footage quality may indicate a misaligned camera or other technical issues with your drone. If you continue to experience problems with the alignment of your drone’s camera, consider seeking professional assistance or contacting the manufacturer for support.
Maintaining Proper Camera Alignment
Once you have successfully aligned your drone’s camera, it is important to maintain its proper alignment over time. Regularly check and adjust the camera alignment as needed to ensure that your footage remains high-quality and professional. Here are some tips for maintaining proper camera alignment:
1. Perform Routine Checks
Make it a habit to perform routine checks of your drone’s camera alignment before each flight. Visual inspection and test shots can help you quickly identify any misalignment issues and address them promptly.
2. Store Your Drone Properly
Store your drone in a safe and secure location when not in use to prevent damage to the camera and gimbal components. Avoid exposing your drone to extreme temperatures, moisture, or physical impact that may affect its alignment.
3. Handle With Care
Handle your drone with care when transporting, setting up, and flying it to avoid jarring or damaging the camera alignment. Be gentle when making adjustments to the camera angle and avoid applying excessive force that may cause misalignment.
4. Seek Professional Assistance
If you encounter persistent camera alignment issues despite your best efforts, consider seeking professional assistance from a drone technician or repair service. A trained expert can help diagnose and resolve any complex alignment problems that you may be facing.
Conclusion
Properly aligning your drone’s camera is essential for capturing high-quality photos and videos that are visually appealing and professional. By understanding the importance of camera alignment, checking your camera’s alignment, adjusting it as needed, troubleshooting common alignment issues, and maintaining proper alignment over time, you can optimize the performance of your drone and achieve stunning results in your aerial photography and videography projects. Remember to be patient, thorough, and consistent in your efforts to ensure that your drone’s camera is always properly aligned for optimal performance.