
How Do I Create A Time-lapse With Drone Photography?
Introduction
Creating a time-lapse with drone photography can be a fun and creative way to capture stunning footage of landscapes, cityscapes, events, and more. In this article, I will guide you through the process of creating a time-lapse with drone photography, step by step.
Selecting the Right Drone
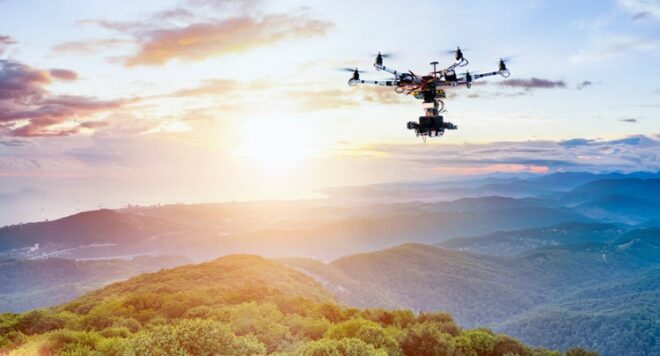
The first step in creating a time-lapse with drone photography is to select the right drone for the job. Look for a drone with a good quality camera, a stable flight system, and a long battery life. Drones such as the DJI Phantom 4 Pro or the Mavic Air are popular choices for creating time-lapses.
Choosing the Right Location
Once you have the right drone, the next step is to choose the right location for your time-lapse. Look for a location with interesting subjects, such as moving clouds, changing light conditions, or a busy street. Make sure to check local regulations and obtain any necessary permits before flying your drone.
Setting Up Your Drone
Before you start shooting your time-lapse, you need to set up your drone properly to ensure smooth and stable footage. Here are some key things to consider:
Check the Weather Conditions
Before flying your drone, make sure to check the weather conditions. Avoid flying in strong winds, rain, or low visibility, as these conditions can affect the stability of your drone and the quality of your footage.
Calibrate Your Drone
Calibrate your drone before takeoff to ensure that it is properly balanced and stabilized. Follow the manufacturer’s instructions to calibrate the drone’s compass, gyroscope, and accelerometer for optimal performance.
Adjust Camera Settings
Before you start shooting your time-lapse, adjust the camera settings on your drone for the best results. Set the camera to manual mode to have full control over settings such as ISO, shutter speed, aperture, and white balance. Experiment with different settings to find the perfect combination for your time-lapse.
Shooting Your Time-lapse
Now that you have your drone set up and ready to go, it’s time to start shooting your time-lapse. Follow these steps to capture stunning footage:
Plan Your Shot
Before you start shooting, plan your shot to determine the composition, framing, and motion of your time-lapse. Think about the speed at which your subjects will move and how long you want your time-lapse to be. Consider using a storyboard or shot list to organize your shots.
Use a Tripod
For stable and smooth footage, consider using a tripod or a drone with a stabilized gimbal. This will prevent shaky footage and allow you to capture crisp and clear images for your time-lapse.
Set Intervals
Set the intervals at which your drone will take photos for your time-lapse. The interval will depend on the speed of your subjects and the length of your time-lapse. Experiment with different intervals to find the best results for your footage.
Monitor Battery Life
Keep an eye on your drone’s battery life while shooting your time-lapse. Make sure to have spare batteries on hand to avoid interruptions in your footage. Consider using a battery monitor or alarm to alert you when it’s time to land your drone and change batteries.
Post-Processing Your Time-lapse
Once you have captured your time-lapse footage, it’s time to post-process and edit your footage to create a stunning final product. Here are some tips for post-processing your time-lapse:
Import Footage
Transfer your footage from your drone to your computer or editing software for post-processing. Make sure to organize your footage in a folder or timeline for easy access during editing.
Edit Footage
Use editing software such as Adobe Premiere Pro, Final Cut Pro, or After Effects to edit your time-lapse footage. Consider color correction, cropping, stabilization, and adding effects to enhance your footage and create a professional-looking time-lapse.
Add Music or Sound Effects
Consider adding music or sound effects to your time-lapse to enhance the viewer’s experience. Choose music that complements the mood and style of your footage, or add sound effects such as ambient noise to create a more immersive viewing experience.
Export and Share
Once you have edited your time-lapse, export the final video in high resolution for sharing on social media or other platforms. Consider adding a title, credits, or a watermark to protect your work and give credit to your creative efforts.
Conclusion
Creating a time-lapse with drone photography can be a rewarding and creative experience. By following these steps and tips, you can capture stunning footage of landscapes, cityscapes, events, and more. Remember to plan your shot, use a tripod, set intervals, monitor battery life, and post-process your footage for the best results. Have fun experimenting with different settings and techniques to create unique and captivating time-lapses with your drone.