
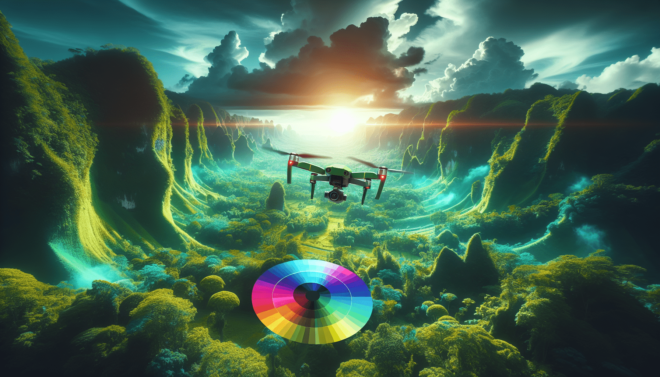
How Do I Use LUTs for Drone Footage in DaVinci Resolve?
Have you ever captured stunning drone footage, only to find that the colors are not as vibrant and dynamic as you had hoped? The good news is that you can easily enhance your drone footage using Look-Up Tables (LUTs) in DaVinci Resolve. In this article, we will guide you through the process of using LUTs to take your drone footage to the next level. Let’s get started!
What Are LUTs?
LUTs, or Look-Up Tables, are files that contain predefined color values to transform the colors in your footage. They are commonly used in the film industry to apply specific color grading looks to videos quickly and consistently. By applying LUTs to your drone footage in DaVinci Resolve, you can achieve cinematic color grades with just a few clicks.
What Do LUTs Do?
LUTs work by mapping colors from one color space to another. They can be used to correct color issues, enhance the mood of a scene, or stylize your footage according to a specific look or theme. With the right LUT, you can make your drone footage look more professional and visually appealing.
How to Get LUTs for Your Drone Footage
Before you can start using LUTs in DaVinci Resolve, you need to have the right LUT files. There are many sources where you can find free and paid LUTs online. You can also create custom LUTs using DaVinci Resolve or other color grading software. Once you have your desired LUTs, you can proceed to apply them to your drone footage.
Where to Find LUTs
There are several websites where you can download LUTs for free, such as Lutify.me, 3D LUTs, and IWLTBAP. You can also purchase premium LUTs from professional colorists and filmmakers to achieve unique and high-quality color grades. Additionally, DaVinci Resolve comes with a collection of built-in LUTs that you can use for various looks and styles.
Creating Custom LUTs
If you want to create your own custom LUTs for your drone footage, DaVinci Resolve provides powerful tools for color grading and color correction. You can experiment with different color adjustments, curves, and effects to achieve the desired look. Once you are satisfied with your color grade, you can save it as a custom LUT for future use.
Applying LUTs to Your Drone Footage in DaVinci Resolve
Now that you have your LUT files ready, it’s time to apply them to your drone footage in DaVinci Resolve. Follow these simple steps to enhance the colors and overall look of your videos:
Step 1: Import Your Footage
Start by launching DaVinci Resolve and creating a new project. Import your drone footage into the Media Pool by clicking on the “Import Media” button and selecting your files. You can organize your clips into bins for easier access during the editing process.
Step 2: Add Your Footage to the Timeline
Drag and drop your drone footage from the Media Pool onto the timeline to start editing. You can trim, cut, and rearrange your clips to create the desired sequence. Once you have your footage ready, you can proceed to apply LUTs for color grading.
Step 3: Apply a LUT to Your Footage
To apply a LUT to your drone footage, navigate to the Color tab in DaVinci Resolve. In the upper left corner, you will see the Gallery panel, where you can access the LUTs available in the software. Click on the “3D LUT” dropdown menu and choose “Browse” to import your LUT files.
Step 4: Adjust the Intensity of the LUT
Once you have applied a LUT to your footage, you can adjust the intensity of the color grade using the LUT Intensity slider. This allows you to control how much of the LUT effect is applied to your drone footage. Experiment with different intensity levels to find the right balance for your video.
Fine-Tuning Your Color Grade
After applying a LUT to your drone footage, you may want to fine-tune the color grade further to achieve the desired look. DaVinci Resolve offers a wide range of color grading tools and features to help you enhance the colors, contrast, and overall visual appeal of your videos.
Using Curves and Color Wheels
The Curves and Color Wheels in DaVinci Resolve allow you to make precise adjustments to the shadows, midtones, and highlights of your footage. You can control the contrast, brightness, and color balance of your video by manipulating the curves and wheels to create a cinematic look.
Adding Film Grain and Effects
To further enhance the cinematic feel of your drone footage, you can add film grain and other effects in DaVinci Resolve. Film grain helps to give your videos a more organic and textured look, reminiscent of traditional film stocks. You can also experiment with other effects such as vignettes, lens flares, and light leaks to add visual interest to your footage.
Exporting Your Color-Graded Drone Footage
Once you have finished color grading your drone footage in DaVinci Resolve, it’s time to export the final video with the applied LUTs and color adjustments. Follow these steps to export your color-graded footage for sharing or further editing:
Step 1: Navigate to the Deliver Tab
Click on the Deliver tab in DaVinci Resolve to access the export settings for your project. Here, you can specify the format, resolution, frame rate, and other parameters for your final video.
Step 2: Set the Export Format
Choose the desired export format for your color-graded drone footage. You can select common formats such as MP4, MOV, or ProRes, depending on your needs and preferences. Make sure to adjust the settings for quality and compression to maintain the integrity of your video.
Step 3: Configure the Export Settings
Customize the export settings according to your requirements, such as resolution, frame rate, codec, and audio settings. You can also specify the output destination for the exported file and add a filename for easy identification.
Step 4: Start the Export Process
Once you have configured the export settings, click on the “Add to Render Queue” button to add the project to the render queue. Review the export settings one final time to ensure everything is set correctly, then click on the “Start Render” button to begin the export process.
Conclusion
Using LUTs for drone footage in DaVinci Resolve is a powerful way to enhance the colors and overall look of your videos. By following the steps outlined in this article, you can easily apply LUTs to your drone footage, fine-tune the color grade, and export the final video with professional-looking results. Experiment with different LUTs, color grading techniques, and effects to create stunning visuals that will impress your audience. Happy editing!