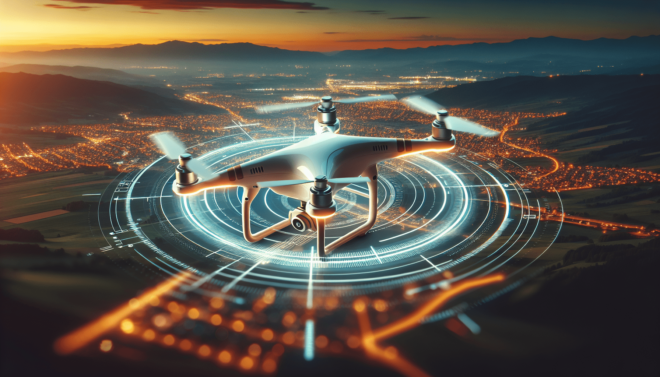
How Do I Create A Drone Video Intro In DaVinci Resolve?
Have you ever wanted to create an eye-catching and professional drone video intro, but didn’t know where to start? In this article, I will guide you through the process of creating a stunning drone video intro using DaVinci Resolve. By the end of this article, you will have the knowledge and skills to create your own impressive drone video intro that will captivate your audience.
Getting Started
First things first, you need to make sure you have DaVinci Resolve installed on your computer. If you don’t have it already, you can easily download it from the official Blackmagic Design website. DaVinci Resolve is a powerful video editing software that is used by both amateur and professional videographers around the world.
Downloading DaVinci Resolve
You can download DaVinci Resolve for free from the official Blackmagic Design website. Simply go to their website, locate the download section, and choose the version that is compatible with your operating system. Once you have downloaded the software, follow the installation instructions to set it up on your computer.
Importing Your Drone Footage
Once you have DaVinci Resolve installed on your computer, you can start by importing your drone footage into the software. To do this, open DaVinci Resolve and create a new project. Then, navigate to the media tab and select “import files.” Locate your drone footage on your computer and import it into the software.
Organizing Your Footage
It’s a good idea to organize your footage into different folders within DaVinci Resolve to make it easier to work with. You can create folders for different types of shots, such as aerial shots, ground shots, and close-up shots. This will help you stay organized and find the footage you need quickly.
Creating the Drone Video Intro
Now that you have imported and organized your drone footage, it’s time to start creating your drone video intro. Follow these steps to create a stunning intro that will grab your audience’s attention from the start.
Selecting Your Best Footage
Start by going through your drone footage and selecting the best shots for your video intro. Look for shots that are visually appealing, well-composed, and showcase the beauty of the scenery. Choose a variety of shots to create a dynamic and engaging intro.
Creating a Storyboard
Before you start editing your footage, it can be helpful to create a storyboard to plan out the sequence of shots for your video intro. This will help you visualize how your intro will flow and ensure that it conveys the message or story you want to tell. You can use a storyboard template or simply sketch out the sequence of shots on paper.
Adding Music and Sound Effects
Music and sound effects can play a crucial role in setting the mood and tone of your drone video intro. Choose a music track that complements the visuals and enhances the overall viewing experience. You can also add sound effects, such as the buzzing of the drone or the sound of nature, to make your intro more immersive.
Color Grading Your Footage
Color grading is an essential part of the editing process that can take your drone footage to the next level. Use DaVinci Resolve’s powerful color grading tools to enhance the colors, contrast, and overall look of your footage. Experiment with different color grading styles to find the one that best suits the mood and aesthetic of your video intro.
Adding Text and Graphics
To make your drone video intro more engaging and informative, you can add text and graphics to highlight key points or convey important information. Use DaVinci Resolve’s text and graphics tools to create titles, captions, and other visual elements that will enhance your intro and engage your audience.
Exporting Your Video Intro
Once you have finished editing your drone video intro, it’s time to export it from DaVinci Resolve. Go to the deliver tab, select the export settings (resolution, format, etc.), and click on the export button to save your intro to your computer. You can then upload it to your desired platform to share it with your audience.
Conclusion
Congratulations! You have now learned how to create a stunning drone video intro in DaVinci Resolve. By following the steps outlined in this article, you can create an impressive intro that will captivate your audience and set the tone for the rest of your video. Remember to have fun experimenting with different editing techniques and styles to create a unique and visually appealing drone video intro. Happy editing!

