How Do I Use A Polarizing Filter For Drone Photography?
Have you ever wondered how to enhance the quality of your drone photography effortlessly? Using a polarizing filter can significantly improve your aerial shots by reducing glare, enhancing colors, and increasing overall image quality. In this article, we will guide you on how to effectively use a polarizing filter for drone photography.

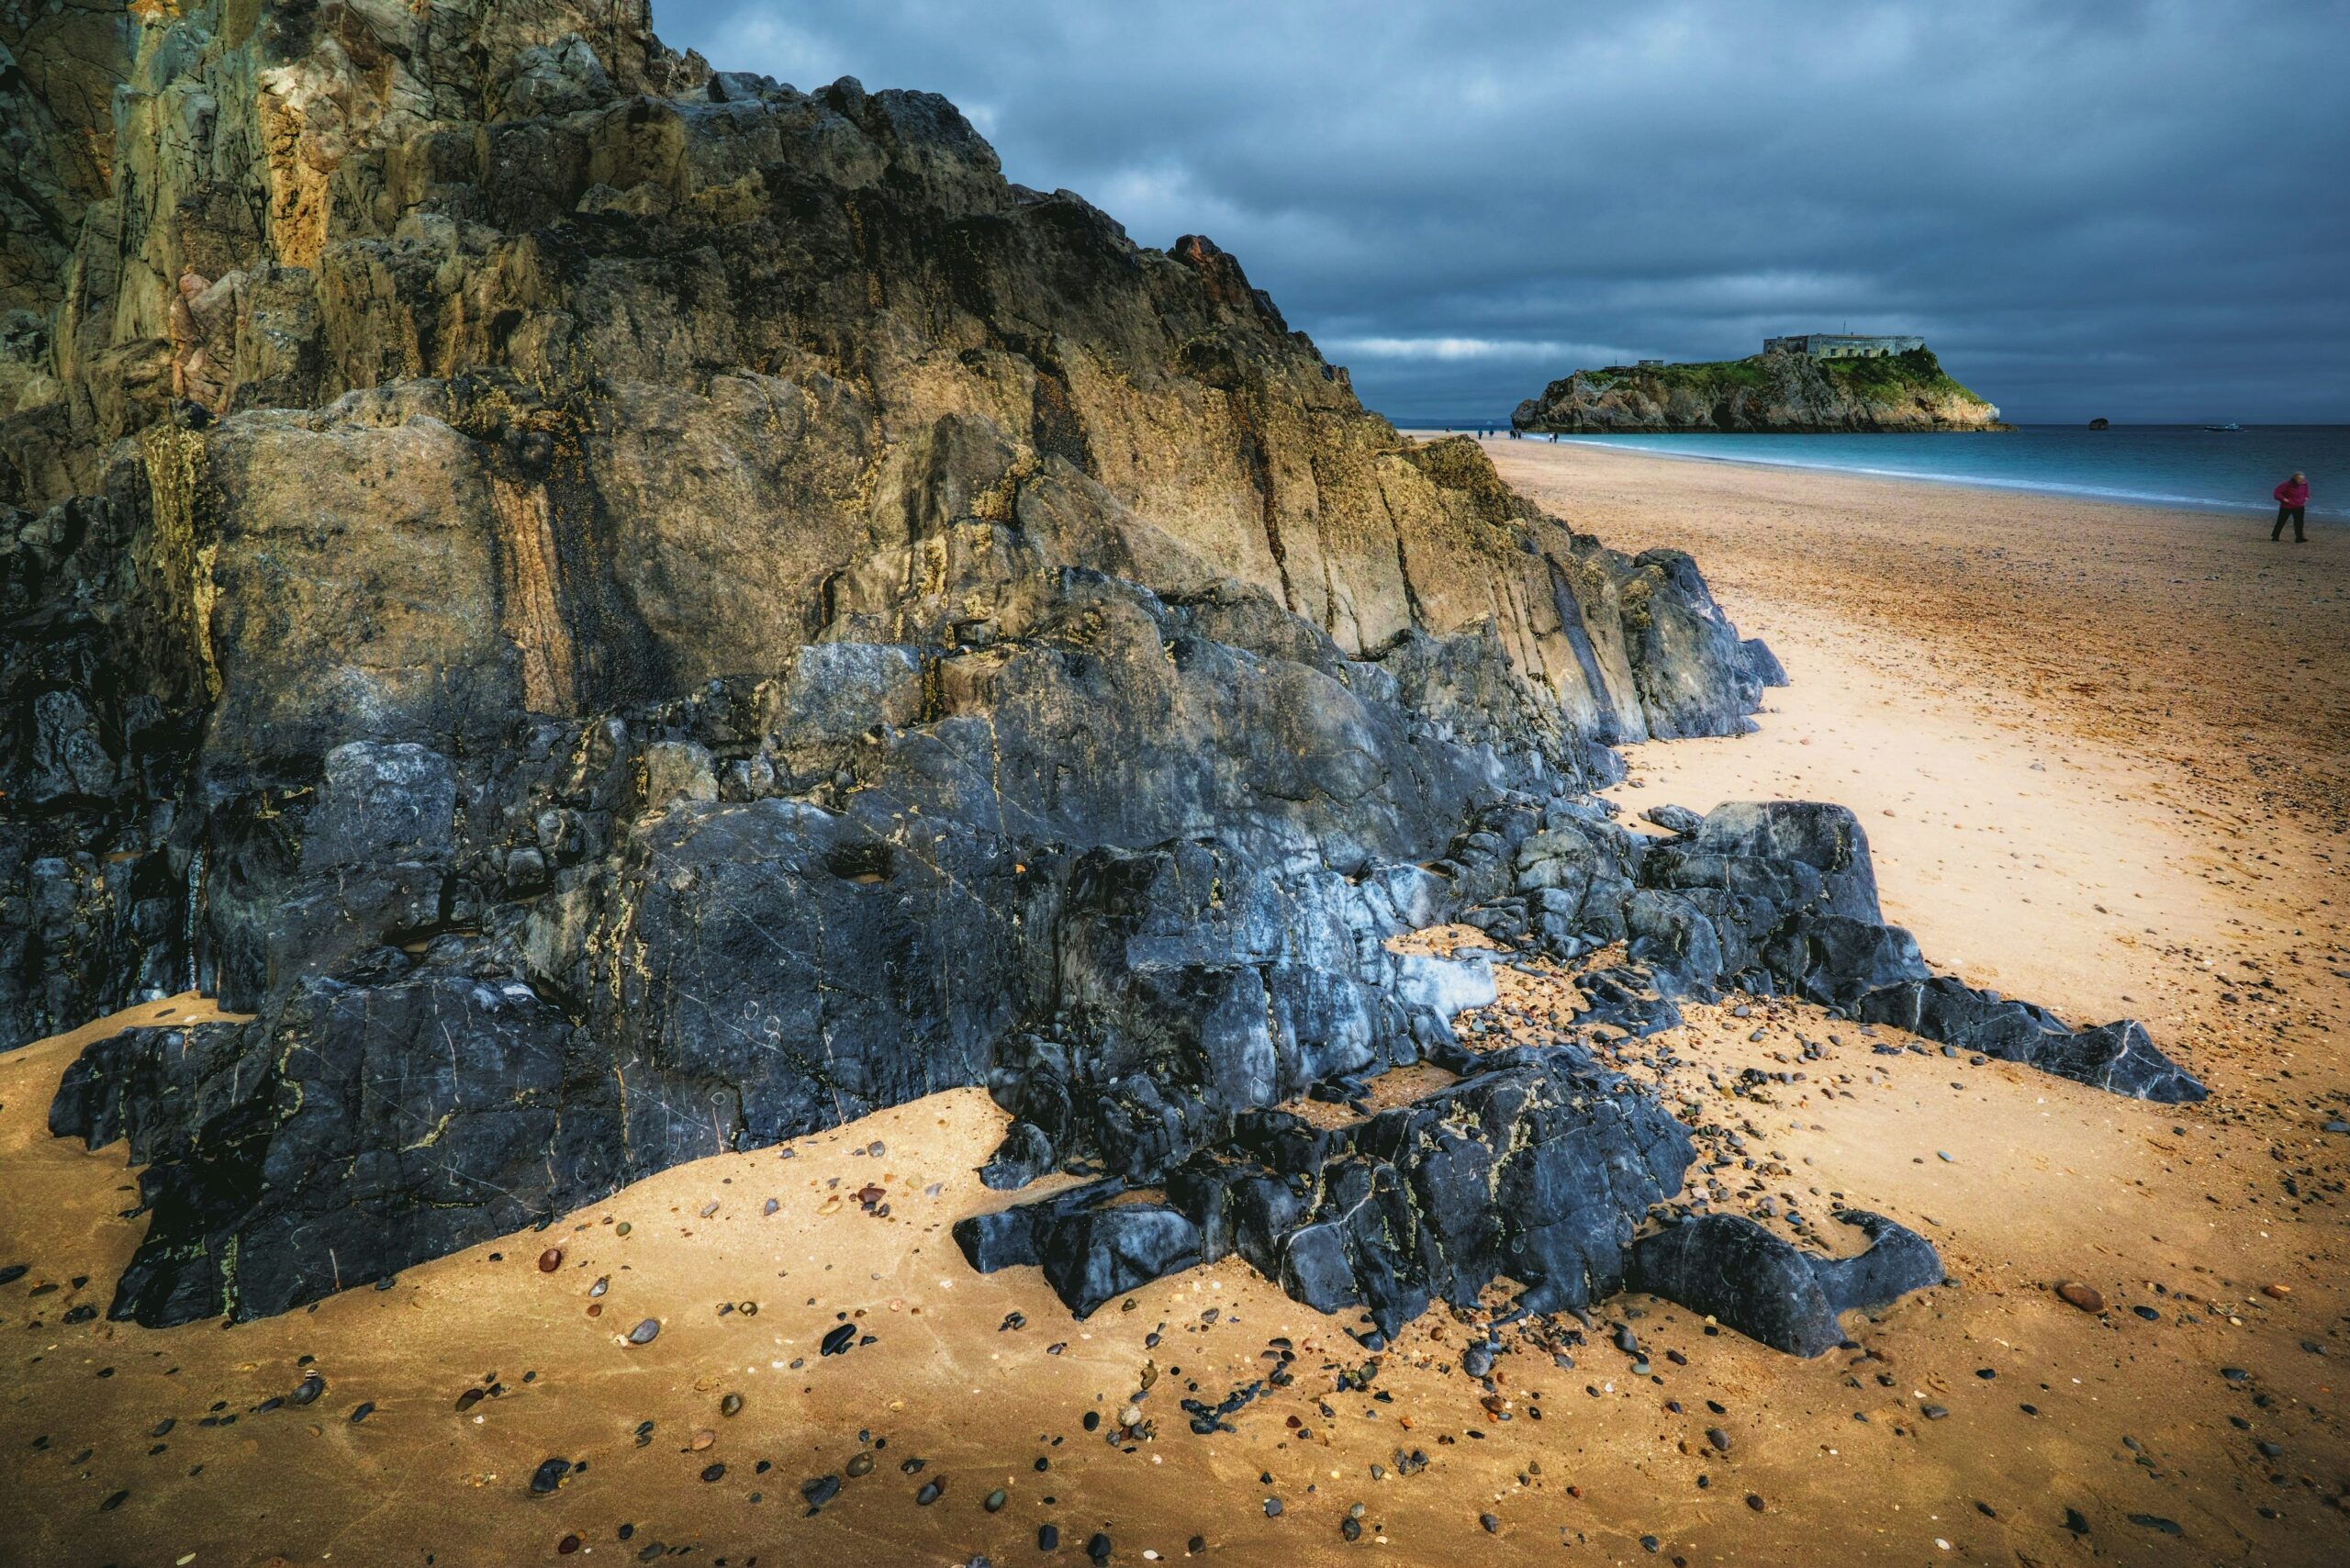
This image is property of images.unsplash.com.
What is a Polarizing Filter?
Before diving into how to use a polarizing filter for drone photography, let’s understand what exactly a polarizing filter is. A polarizing filter is a photographic accessory that can be attached to the lens of your drone’s camera. It is designed to reduce glare and reflections from surfaces such as water, glass, and other non-metallic objects.
Simplifying the Science Behind Polarizing Filters
Polarizing filters work by cutting through the reflections caused by light bouncing off surfaces at certain angles. They help improve contrast, saturation, and overall image quality by blocking out unwanted light rays.
Choosing the Right Polarizing Filter for Your Drone
When selecting a polarizing filter for your drone photography, it’s essential to consider factors such as the size of your drone’s camera lens, the quality of the filter, and the type of photography you will be doing.
Filter Size Compatibility
Ensure that you choose a polarizing filter that is compatible with the size of your drone’s camera lens. Most filters come in various sizes, so make sure to check the specifications before making a purchase.
Filter Quality
Investing in a high-quality polarizing filter is crucial to achieving optimal results in your drone photography. Opt for filters made from high-grade materials that offer durability, clarity, and efficiency in reducing glare.
Photography Style
Consider the type of photography you will be focusing on with your drone when selecting a polarizing filter. Whether you are capturing landscapes, portraits, or aerial shots, choose a filter that complements your preferred photography style.
Attaching the Polarizing Filter to Your Drone Camera
Now that you have chosen the right polarizing filter for your drone photography, let’s discuss how to attach it to your drone’s camera.
Step 1: Power Off Your Drone
Before attaching or detaching any accessories to your drone’s camera, ensure that your drone is powered off to prevent any damage to the equipment.
Step 2: Locate the Camera Lens
Locate the camera lens on your drone where you will be attaching the polarizing filter. Most drones have a designated area for attaching filters directly in front of the lens.
Step 3: Screw the Filter Onto the Lens
Carefully screw the polarizing filter onto the lens of your drone’s camera in a clockwise direction until it is securely attached. Ensure that it is snugly fitted to prevent any movement during flight.
Adjusting the Polarizing Filter for Maximum Effectiveness
Once you have attached the polarizing filter to your drone’s camera, you will need to adjust it to achieve the desired effects in your aerial photography.
Directing the Filter Angle
Rotate the polarizing filter while observing the live feed from your drone’s camera to find the optimal position for reducing glare and enhancing colors. Slowly turn the filter until you notice a significant improvement in image quality.
Avoid Over-Polarization
Be cautious not to over-polarize your shots, as this can result in unnatural-looking images with exaggerated colors and reduced detail. Gradually adjust the filter until you achieve a balanced and natural look in your drone photography.

This image is property of images.unsplash.com.
Shooting Tips When Using a Polarizing Filter
To make the most out of your drone photography with a polarizing filter, here are some shooting tips to keep in mind.
Shoot in Good Lighting Conditions
Polarizing filters work best in bright, sunny conditions where there is ample natural light. Avoid using the filter in low-light settings, as it may not be as effective in reducing glare and reflections.
Experiment with Different Angles
Try shooting from various angles and perspectives to see how the polarizing filter affects the overall look of your aerial shots. Different angles can produce varying levels of polarization, so don’t be afraid to get creative with your compositions.
Combine Filters for Unique Effects
Consider combining a polarizing filter with other filters, such as ND (neutral density) filters or UV filters, to achieve unique and artistic effects in your drone photography. Experiment with different filter combinations to see what works best for your shooting style.
Post-Processing Enhancement with Polarizing Filters
After capturing stunning aerial shots with your drone and polarizing filter, you can further enhance the images through post-processing techniques.
Adjusting Saturation and Contrast
In post-processing software such as Adobe Lightroom or Photoshop, you can fine-tune the saturation and contrast levels of your images to bring out the full potential of the polarizing filter’s effects. Experiment with these settings to achieve the desired look in your drone photography.
Removing Unwanted Reflections
If there are still unwanted reflections or glare in your images after using a polarizing filter, you can manually remove them using the clone stamp or healing brush tools in editing software. This will help clean up any distracting elements and improve the overall quality of your aerial shots.

This image is property of images.unsplash.com.
Conclusion
In conclusion, using a polarizing filter for drone photography can elevate the quality of your aerial shots by reducing glare, enhancing colors, and improving overall image clarity. By following the steps outlined in this guide, you can effectively use a polarizing filter to capture stunning and captivating images with your drone. Experiment with different settings, angles, and shooting techniques to maximize the potential of your polarizing filter and elevate your drone photography to new heights.

