How Do I Edit Drone Photos For The Best Results?
How do I edit drone photos for the best results? Whether you’re a drone photography enthusiast or a professional looking to enhance your aerial shots, editing the images can take them to the next level. In this article, I will provide you with a comprehensive guide on how to edit drone photos effectively for stunning results. Let’s dive in!

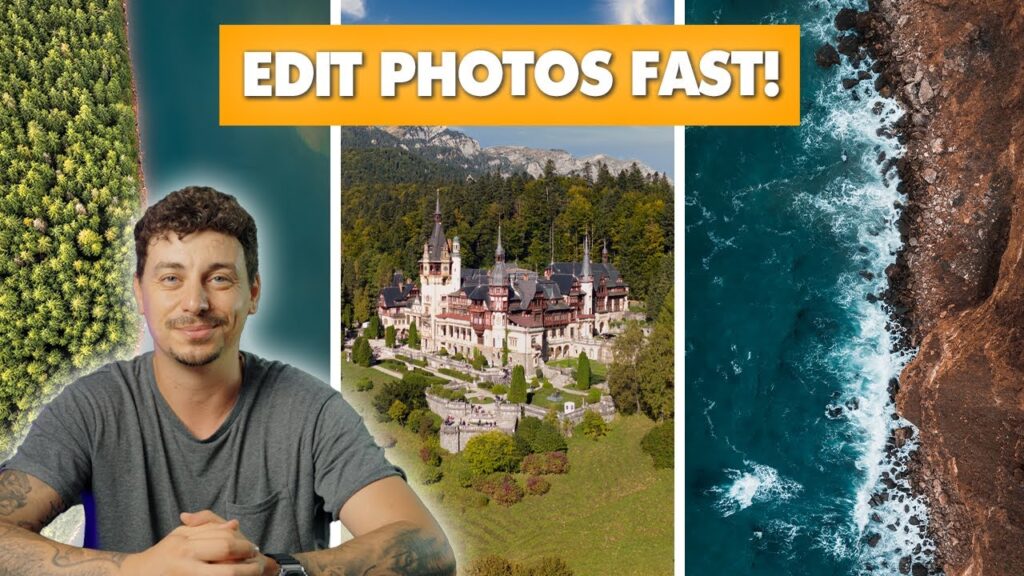
This image is property of i.ytimg.com.
Understanding the Basics of Drone Photography
Before we delve into the editing process, it’s essential to have a good understanding of the basics of drone photography. Drone cameras offer a unique perspective, allowing you to capture breathtaking aerial shots that are not possible with traditional cameras. By mastering the basics of drone photography, you can take better pictures that will require less editing.
Choose the Right Settings
When taking drone photos, it’s crucial to select the right camera settings to ensure optimal image quality. Make sure to adjust the exposure, white balance, ISO, and shutter speed according to the lighting conditions and the desired effect. Experiment with different settings to find the perfect balance for your specific shooting environment.
Composition is Key
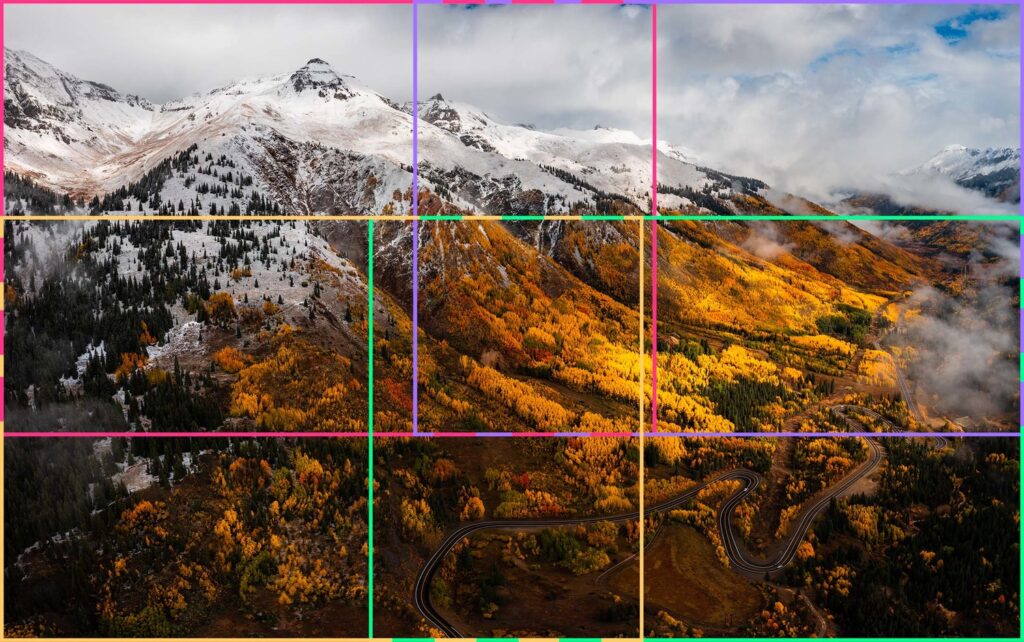
Composition plays a significant role in drone photography, as it can make or break a shot. Pay attention to the rule of thirds, leading lines, symmetry, and framing when framing your shots. Look for unique perspectives and angles to create visually appealing images that stand out.
Preparing Your Drone Photos for Editing
Before you start the editing process, it’s crucial to prepare your drone photos properly. This involves organizing your files, selecting the best shots, and making basic adjustments to enhance the images. By taking the time to prepare your photos, you can streamline the editing process and achieve better results.
Organize Your Files
To make the editing process more efficient, organize your drone photos into separate folders based on locations, dates, or events. This will help you easily locate specific images when you’re ready to edit them. Consider using photo management software to keep your files organized and easily accessible.
Select the Best Shots
Not every drone photo you take will be a masterpiece, so it’s essential to select the best shots for editing. Look for images that are well-composed, properly exposed, and visually interesting. Delete any duplicate or low-quality shots to save time during the editing process.
Make Basic Adjustments
Before diving into advanced editing techniques, make basic adjustments to your drone photos to enhance their quality. This may include adjusting the exposure, contrast, saturation, and sharpness to make the images more visually appealing. Use editing software or apps to make these basic adjustments quickly and easily.

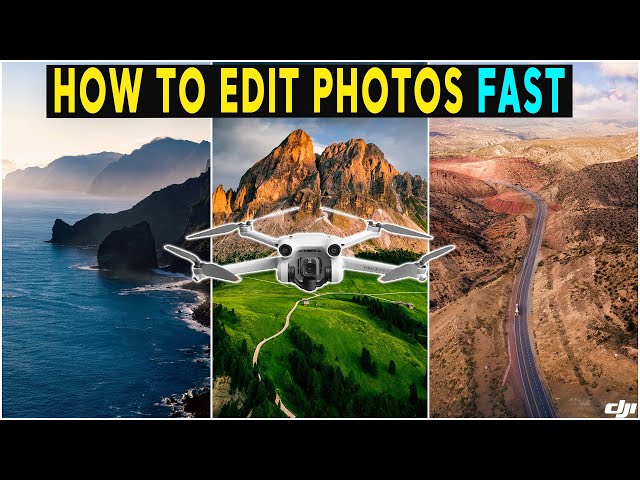
This image is property of cdn.shopify.com.
Editing Drone Photos Like a Pro
Now that you’ve prepared your drone photos, it’s time to edit them like a pro. By using professional editing techniques and tools, you can transform your images into stunning works of art. Follow these tips to edit drone photos effectively and achieve the best results.
Crop and Straighten
One of the first steps in editing drone photos is to crop and straighten the images to improve composition. Remove any distracting elements, adjust the framing, and straighten the horizon to create a more balanced composition. Use the crop tool in your editing software to refine the composition of your drone photos.
Adjust Color and Tone
Color and tone are crucial aspects of editing drone photos, as they can significantly impact the overall look and feel of the images. Experiment with color correction, saturation, vibrance, and white balance to achieve the desired color palette. Adjust the highlights, shadows, and mid-tones to enhance the contrast and tonal range of your drone photos.
Enhance Details
To make your drone photos more visually engaging, enhance the details of the image by sharpening, adding clarity, and increasing texture. This will make the fine details of the scene stand out and add depth to the images. Be careful not to over-sharpen the images, as it can create a harsh and artificial look.
Remove Distractions
Sometimes, drone photos may contain distractions such as power lines, sensor spots, or unwanted objects that detract from the overall composition. Use the healing and cloning tools in your editing software to remove these distractions and clean up the image. This will help focus the viewer’s attention on the main subject of the photo.
Add Filters and Effects
Adding filters and effects can give your drone photos a unique look and feel, transforming them into works of art. Experiment with different presets, filters, and effects to achieve the desired style and mood for your images. From black and white to vintage to dramatic, there are endless possibilities for enhancing your drone photos with creative effects.
Blend Exposures
When shooting drone photos in challenging lighting conditions, you may need to blend exposures to balance the highlights and shadows. Use exposure blending techniques to combine multiple exposures of the same scene and create a well-exposed image. This will help you retain details in the highlights and shadows, resulting in a more balanced and natural-looking photo.

This image is property of i.ytimg.com.
Tips for Optimizing Drone Photo Editing Workflow
To streamline your drone photo editing workflow and achieve the best results, it’s essential to follow some tips and best practices. By optimizing your editing process, you can save time, improve efficiency, and produce high-quality images consistently.
Create Presets
Save time and maintain consistency in your editing process by creating custom presets for drone photos. Develop presets for different lighting conditions, styles, and effects that you can apply to multiple images with a single click. This will help you edit photos quickly while maintaining a cohesive look across your portfolio.
Use Batch Editing
When editing multiple drone photos from the same shoot, use batch editing techniques to apply edits to all images simultaneously. This can save you time and effort by allowing you to make adjustments to multiple photos at once. Consider using editing software that supports batch processing to streamline your workflow.
Utilize Keyboard Shortcuts
Learn and memorize keyboard shortcuts in your editing software to work more efficiently and navigate the interface quickly. Keyboard shortcuts can help you perform editing tasks faster, switch between tools, and access various functions with ease. Invest time in learning shortcuts that are commonly used in drone photo editing to boost your productivity.
Backup Your Files
It’s essential to regularly backup your drone photos to prevent data loss and protect your valuable images. Use cloud storage, external hard drives, or physical backups to ensure that your files are safely stored and easily accessible. Backup your files before starting the editing process to avoid losing any progress or edits.

This image is property of cdn.shopify.com.
Conclusion
Editing drone photos can be a rewarding and creative process that allows you to enhance your aerial shots and bring your vision to life. By following the tips and techniques outlined in this article, you can edit drone photos effectively for the best results. Remember to experiment with different editing styles, tools, and effects to develop your unique editing style and create stunning images that stand out. Happy editing!

This image is property of cdn.fstoppers.com.
