
How Do I Build A Custom Drone From Scratch?
Have you ever wondered how you can build your own custom drone from scratch? Maybe you’re looking to create a unique drone with specific features that you can’t find in commercial models. Building a custom drone can be a rewarding and fun experience, but it requires careful planning and the right tools. In this guide, we will break down the process step by step to help you build your very own custom drone from scratch. Let’s get started!
Planning Your Custom Drone Build
Before you dive into the actual building process, it’s essential to have a solid plan in place. Consider what you want your drone to be used for, what features you need, and what your budget is. Think about the size and weight of your drone, the flight time you want to achieve, and what type of camera or payload you want to carry. By planning ahead, you can ensure that your custom drone meets your exact needs and specifications.
Defining Your Drone’s Purpose
First and foremost, think about what you want to use your custom drone for. Are you looking to take stunning aerial photography, participate in drone racing, or perform specific tasks like agricultural monitoring or search and rescue missions? By defining the purpose of your drone, you can determine the specific features and components you will need to include in your build.
Setting a Budget
Building a custom drone from scratch can quickly add up in costs, so it’s essential to set a budget for your project. Consider how much you are willing to spend on components such as motors, propellers, flight controllers, and batteries. Remember to factor in additional costs such as tools, spare parts, and accessories. By setting a budget from the start, you can avoid overspending and stick to your financial plan.
Researching Components and Materials
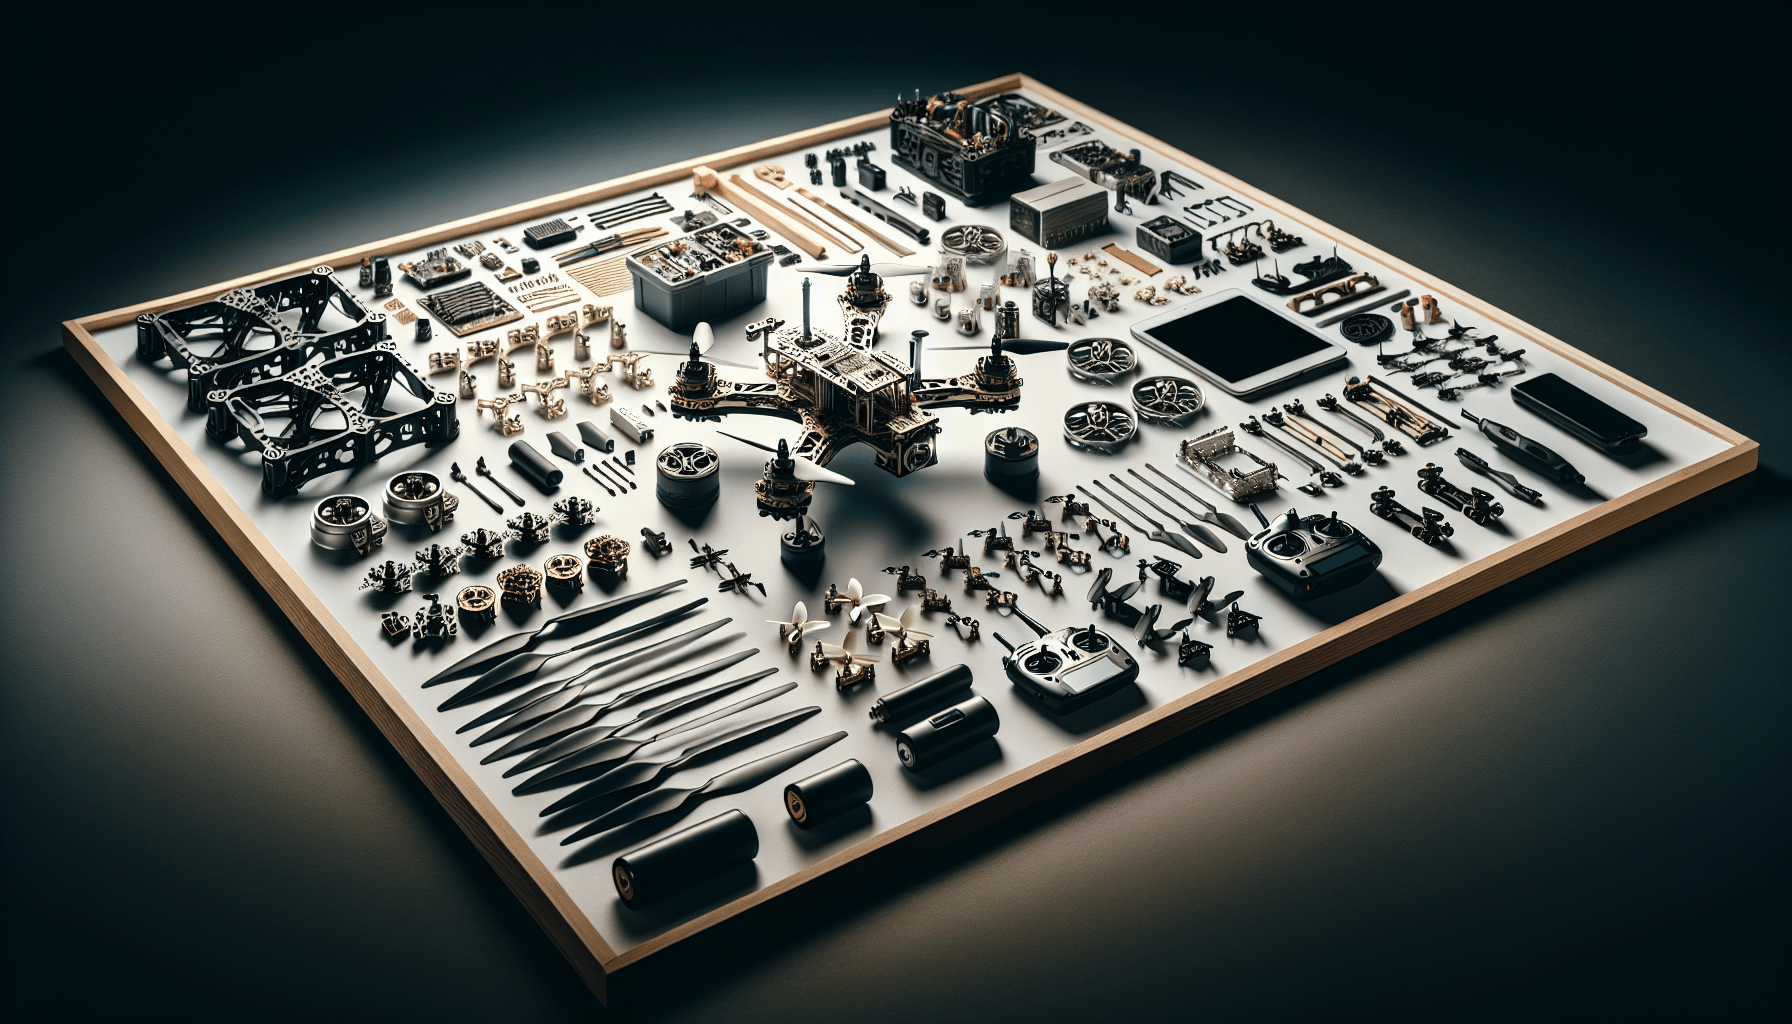
The next step is to research and gather all the components and materials you will need for your custom drone build. This includes selecting the right frame, motors, propellers, flight controller, ESCs, battery, and radio transmitter. Take the time to compare different options, read reviews, and consider the specifications that will best meet your requirements. Make a list of all the components and materials you need before you start assembling your drone.
Building Your Custom Drone
Once you have planned out your custom drone build and gathered all the necessary components and materials, it’s time to start assembling your drone. Building a custom drone from scratch can be a complex process, but by following these step-by-step instructions, you can create a drone that is tailored to your unique needs.
Assembling the Frame
The first step in building your custom drone is to assemble the frame. The frame is the backbone of your drone and will determine its size, weight, and durability. Choose a frame that is lightweight yet sturdy, and that can accommodate the size of your chosen components. Follow the manufacturer’s instructions to put together the frame, making sure to secure all screws and bolts tightly to prevent any wobbling or instability during flight.
Installing the Motors and Propellers
Next, install the motors and propellers onto the frame. The motors are responsible for propelling your drone into the air, while the propellers generate lift and thrust. Make sure to match the size and type of motors to your frame and propellers to ensure optimal performance. Secure the motors onto the frame using motor mounts, and attach the propellers to the motor shafts according to the manufacturer’s instructions.
Mounting the Flight Controller and ESCs
The flight controller is the brains of your drone, responsible for stabilizing and controlling the aircraft during flight. Mount the flight controller onto the frame, making sure it is placed in a secure and vibration-free location. Connect the Electronic Speed Controllers (ESCs) to the motors and flight controller, ensuring that each motor is properly calibrated. Make sure to route the ESC wires neatly to prevent any interference during flight.
Attaching the Battery and Power Distribution Board
The battery is what powers your drone, providing the necessary energy for flight. Choose a high-quality LiPo battery that can deliver the required voltage and capacity for your drone. Mount the battery onto the frame, ensuring it is securely attached and balanced for optimal flight performance. Connect the battery to the power distribution board, which will distribute power to the flight controller, motors, and other electronic components.
Adding the Radio Transmitter and Receiver
The radio transmitter and receiver are essential for piloting your drone remotely. Choose a reliable radio transmitter with the desired range and features for your custom drone. Bind the receiver to the transmitter, and connect it to the flight controller according to the manufacturer’s instructions. Make sure to calibrate the radio transmitter and receiver to ensure smooth and responsive controls during flight.
Installing the Camera and Payload
If you plan on using your custom drone for aerial photography or other specific tasks, you will need to install a camera and payload. Choose a high-quality camera that meets your requirements for resolution, field of view, and stabilization. Mount the camera onto a gimbal or camera mount to ensure stable and vibration-free footage. Make sure to balance the payload properly to prevent any issues with flight stability.
Testing and Calibration
Once you have assembled all the components of your custom drone, it’s crucial to test and calibrate the aircraft before its first flight. Check all connections, components, and settings to ensure everything is properly configured and working correctly. Conduct a pre-flight checklist to verify that the motors, propellers, flight controller, and radio transmitter are functioning as expected. Perform a test hover in a safe and open area to check the stability and responsiveness of your drone before attempting any advanced maneuvers.
Flying Your Custom Drone
Congratulations, you have successfully built your own custom drone from scratch! Now it’s time to take your drone for its maiden flight and experience the thrill of piloting your creation. Follow these tips to ensure a safe and enjoyable flying experience with your custom drone.
Choosing a Suitable Flying Location
When flying your custom drone for the first time, it’s essential to choose a suitable location that is spacious, open, and free from obstacles. Look for a large field, park, or open area where you can safely test your drone without any risks of collisions or interference. Avoid flying near people, buildings, or restricted airspace, and always comply with local regulations and laws regarding drone flight.
Performing Pre-flight Checks
Before each flight, it’s crucial to perform pre-flight checks to ensure that your drone is ready for takeoff. Check the battery levels, motors, propellers, flight controller, and radio transmitter for any signs of damage or malfunction. Make sure the propellers are securely attached and spinning freely, and the flight controller is properly calibrated. Test all controls and functions to ensure that your drone responds correctly to your commands.
Practicing Basic Flying Maneuvers
As a beginner drone pilot, it’s essential to practice basic flying maneuvers to familiarize yourself with the controls and handling of your custom drone. Start with simple maneuvers such as takeoff, landing, hovering, and basic turns to get a feel for how your drone responds to your inputs. Gradually progress to more advanced maneuvers such as flying in circles, figure eights, and altitude changes to improve your piloting skills and confidence.
Capturing Aerial Footage
If you have equipped your custom drone with a camera, take advantage of its aerial photography capabilities to capture stunning footage and images from above. Experiment with different camera settings, angles, and compositions to create unique and visually appealing shots. Utilize the camera’s stabilization features to ensure smooth and steady footage, and consider editing and post-processing your images and videos for a professional finish.
Maintenance and Upgrades
To keep your custom drone in top condition and ensure optimal performance, it’s essential to regularly maintain and inspect your aircraft. Check all components, connections, and fasteners for wear and tear, and replace any damaged or worn parts as needed. Keep your drone clean and free from dust, dirt, and debris, and store it in a safe and dry location when not in use. Consider upgrading your drone with new components, features, or accessories to enhance its capabilities and performance over time.
Now that you have learned how to build a custom drone from scratch and have taken your drone for its first flight, you are well on your way to becoming a skilled drone pilot and builder. Building a custom drone can be a rewarding and fulfilling experience, allowing you to create a unique aircraft that meets your specific needs and preferences. By following these step-by-step instructions and tips, you can build your very own custom drone and take to the skies with confidence and excitement. Happy flying!