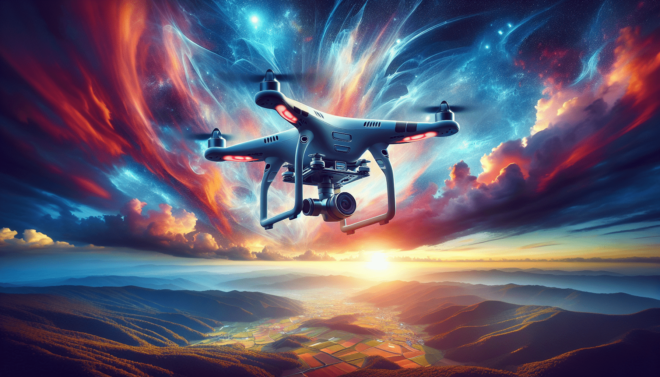
Have you ever wondered how to make your drone photography stand out even more, capturing stunning details and vivid colors? Drone photography has opened up a world of perspectives, offering breathtaking vistas from above that we couldn’t imagine enjoying before. But to really make those high-flying shots pop, it’s essential to edit them in a compelling way. That’s where Lightroom presets come into play.
This article will guide you through the effective use of Lightroom presets specifically tailored for drone photography. Whether you’re a professional aerial photographer or a hobbyist looking to enhance your shots, these pointers could transform your drone images from ordinary to extraordinary. Let’s explore how Lightroom can become your best ally in aerial photography.
Why Use Lightroom for Drone Photography?
Adobe Lightroom is renowned for its powerful photo editing capabilities, significantly enhancing both amateur and professional photographers’ work. When it comes to drone photography, the ability to enhance colors, shift perspectives, and bring out the finest details is critical. Lightroom offers a comprehensive suite of tools that allow you to manipulate your drone shots to match your visionary goals.
Moreover, Lightroom’s presets are an efficient way to streamline your editing process, saving you valuable time while ensuring consistency across your photo collections.
Understanding Lightroom Presets
What Are Lightroom Presets?
Think of Lightroom presets as recipes that contain a specific combination of ingredients (settings) tailored to achieve a certain look. A preset is essentially a saved group of editing adjustments that you can apply to any photo with one click. This not only simplifies the editing process but also helps maintain a consistent aesthetic.
Benefits of Using Presets
Using presets can tremendously benefit your workflow. They increase efficiency, allowing photographers to apply a consistent style across multiple images quickly. Furthermore, presets are fantastic learning tools as they give you insight into how certain photo adjustments affect the final outcome.
The Best Lightroom Presets for Drone Photography
Signature Lightroom Drone Preset
Creating a signature look for your drone photography involves using a unique preset that enhances your photos while staying true to your style. Signature presets typically adjust key elements like contrast, saturation, and sharpness, tailored to your vision.
Radial Filter Drone Preset
Lightroom’s Radial Filter tool is invaluable for drone photography. It allows you to highlight parts of an image to draw the viewer’s attention to a focal point. A preset for the radial filter can save time and help maintain consistency across images, ensuring each photo draws attention where you want it to.
Graduated Filter Drone Preset
For expansive aerial landscapes, the Graduated Filter preset is your go-to option. This tool gradually changes exposure, color, or other attributes in an image. It’s perfect for boosting the mood of vast skies or ensuring your terrain looks vibrant and lifelike.
Editing Tips to Make Your Drone Photos Pop
Adjusting Exposure and Contrast
Drone shots often capture expansive scenes that might contain varying lighting conditions. Adjusting exposure and contrast in Lightroom lets you balance these areas, highlighting both shadows and bright spots equally, to enhance the depth of the image.
Enhancing Colors with HSL Adjustments
HSL (Hue, Saturation, Luminance) adjustments are crucial for fine-tuning colors in your drone images. This tool allows you to highlight or mute specific colors to bring your photo to life. By adjusting HSL sliders, you can create a more dynamic and eye-catching image.
Improving Clarity and Sharpness
One of the secrets to capturing sharp, crisp drone images lies in refining clarity and sharpness. With Lightroom’s Detail panel, you can achieve that precise look by enhancing textures and bringing out intricate details in your shots.
Changing Perspective
Sometimes, the default drone shot doesn’t quite capture the drama or grandeur of the scene. Using Lightroom’s Transform or Crop tools helps modify the perspective for a more impressive final image, whether by leveling out horizons or altering vertical perspectives.
Advanced Techniques in Lightroom for Drone Photography
Using Masking Techniques
Masking is an advanced Photoshop technique that can be applied in Lightroom through local adjustment masks. This lets you selectively edit parts of an image to achieve precisely controlled adjustments, such as adding depth only to the sky or color adjustments to specific areas.
Tone Curve Adjustments
The Tone Curve is one of Lightroom’s most powerful tools, offering fine control over the lightness and darkness of an image. It allows you to lift shadows, recover highlights, and make your images appear more dynamic.
Why Investing in Lightroom is Worth It for Drone Enthusiasts
Many drone photographers wonder if investing in Lightroom is worthwhile. The powerful editing features it offers are unmatched for both ease of use and professional-grade results. With its comprehensive tools and presets, Lightroom can make your aerial photos look more striking and professional, boosting your project’s overall appeal.
Conclusion
When wielded adeptly, Lightroom can elevate your drone photography to new heights. The right presets tailored for aerial shots will simplify your editing process and ensure a consistent and captivating outcome across all your images. From adjusting exposure and colors to refining clarity and perspectives, Lightroom has the tools you need to make your drone photos truly stand out.
Whether you are just starting or looking to refine your craft, embrace Lightroom as a vital tool in your aerial photography arsenal, and watch your work soar above the rest.

