
How Do I Achieve Correct Exposure In Drone Photography?
Understanding Exposure in Photography
When it comes to drone photography, achieving correct exposure is essential to capturing stunning and high-quality images. Exposure refers to the amount of light that reaches the camera sensor, affecting the brightness and darkness of the photo. By understanding exposure, you can ensure that your drone photos are properly exposed and visually appealing.
The Exposure Triangle
The exposure in photography is determined by three main factors, known as the exposure triangle: aperture, shutter speed, and ISO. By adjusting these settings, you can control the amount of light that enters the camera and achieve the desired exposure for your drone photos.
Aperture in Drone Photography
Aperture refers to the size of the opening in the lens through which light enters the camera. It is measured in f-stops, with lower f-stop numbers indicating larger apertures and higher f-stop numbers indicating smaller apertures. In drone photography, adjusting the aperture can help you control the depth of field and exposure of your photos.
Choosing the Right Aperture
When shooting drone photos, consider the depth of field you want to achieve. A lower f-stop number (wider aperture) can create a shallow depth of field, making the subject stand out from the background. On the other hand, a higher f-stop number (smaller aperture) can increase the depth of field, keeping the entire scene in focus.

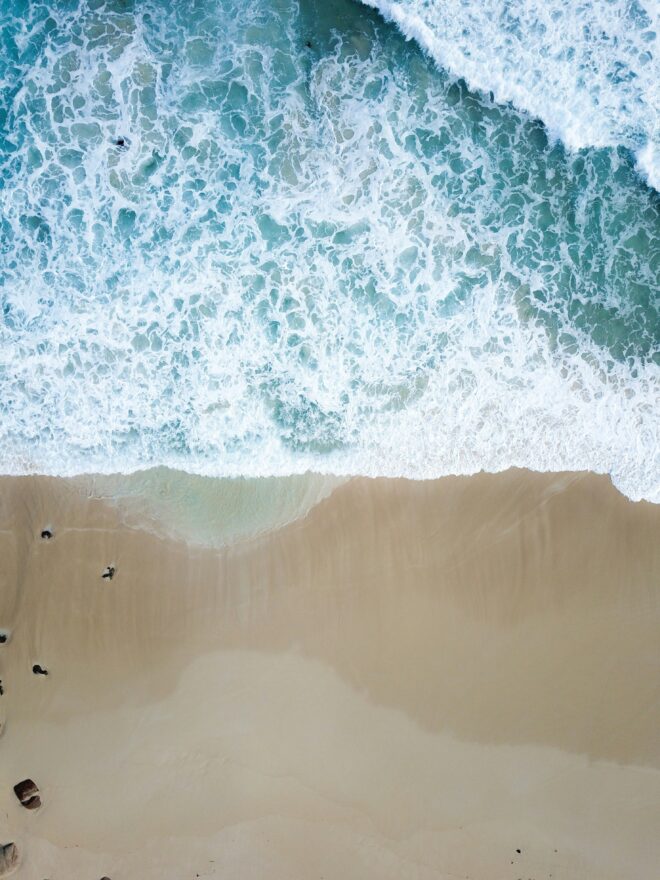
This image is property of images.unsplash.com.
Shutter Speed in Drone Photography
Shutter speed refers to the amount of time that the camera shutter remains open to capture light. It is measured in fractions of a second, with faster shutter speeds allowing less light to enter the camera and slower shutter speeds allowing more light. In drone photography, adjusting the shutter speed can help you capture sharp and properly exposed photos.
Choosing the Right Shutter Speed
When shooting drone photos, consider the movement in your scene. A faster shutter speed is ideal for capturing fast-moving subjects or reducing motion blur. On the other hand, a slower shutter speed can create a sense of motion and add a dynamic effect to your photos. Experiment with different shutter speeds to achieve the desired look for your drone images.
ISO in Drone Photography
ISO refers to the camera sensor’s sensitivity to light, with higher ISO settings making the sensor more sensitive to light and lower ISO settings making it less sensitive. In drone photography, adjusting the ISO can help you capture properly exposed photos in different lighting conditions.
Choosing the Right ISO
When shooting drone photos, consider the lighting conditions in your scene. A lower ISO setting is ideal for well-lit environments, as it reduces noise and maintains image quality. On the other hand, a higher ISO setting can help you capture photos in low-light situations, although it may introduce noise or grain to your images. Find the right balance between ISO and other exposure settings to achieve correct exposure in your drone photos.

This image is property of images.unsplash.com.
Using Exposure Compensation
Exposure compensation is a valuable tool in drone photography that allows you to adjust the exposure of your photos manually. By using exposure compensation, you can increase or decrease the overall brightness of your images to achieve the desired exposure level.
How to Use Exposure Compensation
To use exposure compensation on your drone camera, locate the exposure compensation button or setting in your camera’s menu. Adjust the exposure compensation dial to increase or decrease the exposure by a specific amount (usually in stops). Experiment with exposure compensation to fine-tune the exposure of your drone photos and capture the perfect shot.
Using Histograms for Exposure
Histograms are graphical representations of the brightness levels in a photo, helping you analyze the exposure and tonal range of your images. In drone photography, histograms can be a useful tool for achieving correct exposure and ensuring that your photos are properly exposed.
Interpreting Histograms
When reviewing histograms on your drone camera, look for the distribution of brightness levels from shadows (left side) to highlights (right side). A well-exposed photo typically displays a histogram that is balanced and does not clip at either end. Use histograms to adjust your exposure settings and avoid overexposure or underexposure in your drone photos.

This image is property of images.unsplash.com.
Bracketing in Drone Photography
Bracketing is a technique in photography that involves capturing multiple shots of the same scene at different exposure levels. In drone photography, bracketing can help you achieve correct exposure by ensuring that you have a range of images to choose from with varying brightness levels.
How to Use Bracketing
To use bracketing on your drone camera, set the camera to capture a series of shots at different exposure levels (usually in increments of stops). This can be done manually or with the camera’s bracketing mode. After capturing the bracketed shots, review the images and select the one with the best exposure for your final drone photo.
Using ND Filters for Proper Exposure
ND (neutral density) filters are photographic filters that reduce the amount of light entering the camera without affecting the color or quality of the image. In drone photography, ND filters can help you achieve proper exposure in bright lighting conditions and capture stunning aerial shots.
Choosing the Right ND Filter
When shooting drone photos in bright sunlight, consider using ND filters to reduce the amount of light entering the camera and avoid overexposure. ND filters are available in different strengths, with higher ND filter numbers indicating greater light reduction. Experiment with different ND filters to find the right one for your drone photography needs.
White Balance in Drone Photography
White balance refers to the color temperature of light in a photo, affecting the overall color cast and warmth of the image. In drone photography, adjusting the white balance can help you achieve accurate and natural-looking colors in your photos.
Adjusting White Balance Settings
When shooting drone photos, consider the lighting conditions and color temperature of the scene. Choose the appropriate white balance setting on your drone camera to ensure that the colors in your photos appear true to life. Experiment with different white balance settings to achieve the desired look for your aerial images.
Post-Processing for Correct Exposure
Post-processing is an essential step in drone photography that allows you to enhance and fine-tune your images for correct exposure. By using editing software, you can adjust exposure, contrast, brightness, and other settings to achieve the desired look for your drone photos.
Using Editing Software
When post-processing drone photos, consider using editing software such as Adobe Lightroom or Photoshop. Adjust the exposure, contrast, highlights, shadows, and other settings to achieve correct exposure and enhance the visual appeal of your aerial images. Experiment with different editing techniques to bring out the best in your drone photography.
In conclusion, achieving correct exposure in drone photography is crucial for capturing stunning and visually appealing aerial images. By understanding exposure settings such as aperture, shutter speed, and ISO, as well as using tools like histograms, exposure compensation, bracketing, ND filters, and white balance, you can ensure that your drone photos are properly exposed and beautifully composed. Experiment with different techniques and settings to enhance your drone photography skills and take your aerial images to the next level.