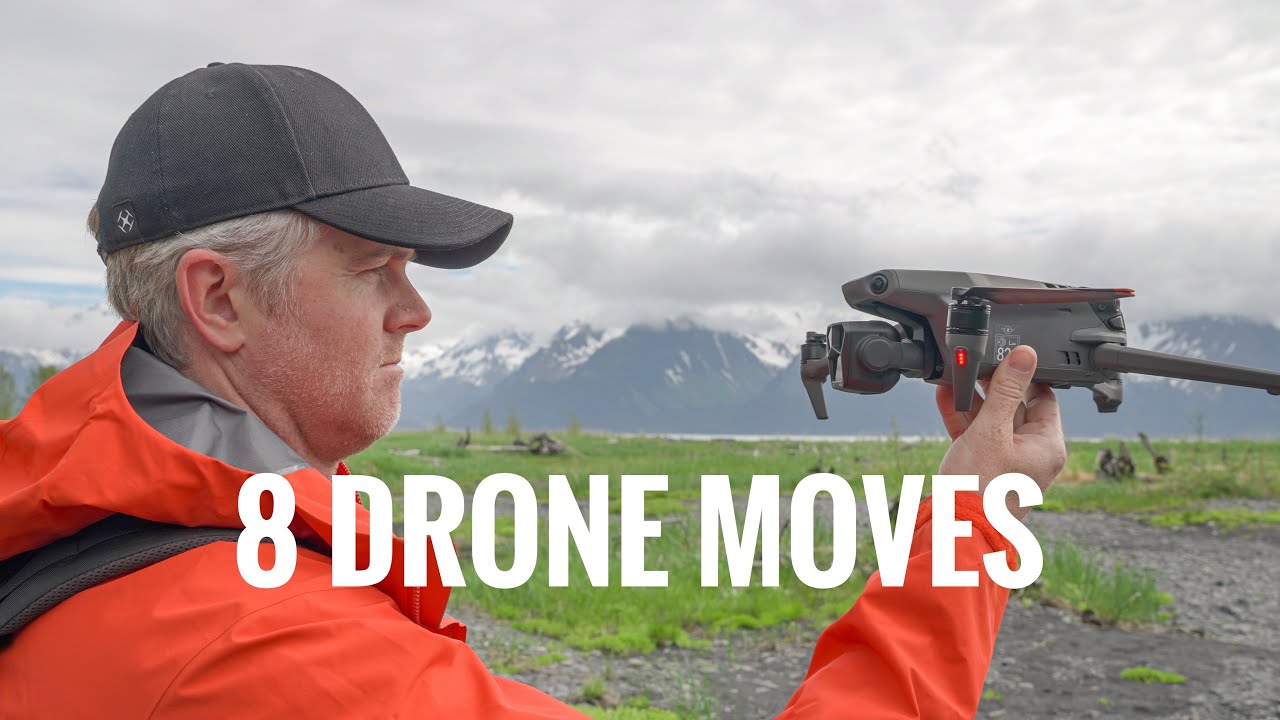
“How Do I Capture Cinematic Shots With A Drone?
You’ve just gotten your hands on a new drone, and you’re excited to start capturing stunning aerial footage. But how do you go beyond just basic shots and truly create cinematic masterpieces with your drone? In this article, we’ll walk you through everything you need to know to take your drone footage to the next level and achieve that cinematic look you’ve been dreaming of. Let’s get started!”
Understanding Your Drone’s Features
Before you can start capturing cinematic shots with your drone, it’s crucial to understand the features and capabilities of your specific model. Familiarize yourself with the following key features to enhance your shooting experience:
Camera Quality
The quality of your drone’s camera plays a significant role in the cinematic look of your footage. Look for drones with high-resolution cameras, preferably 4K or higher, to capture crisp and detailed images. Additionally, consider drones with ample dynamic range for better exposure control and color grading flexibility in post-production.
Gimbal Stabilization
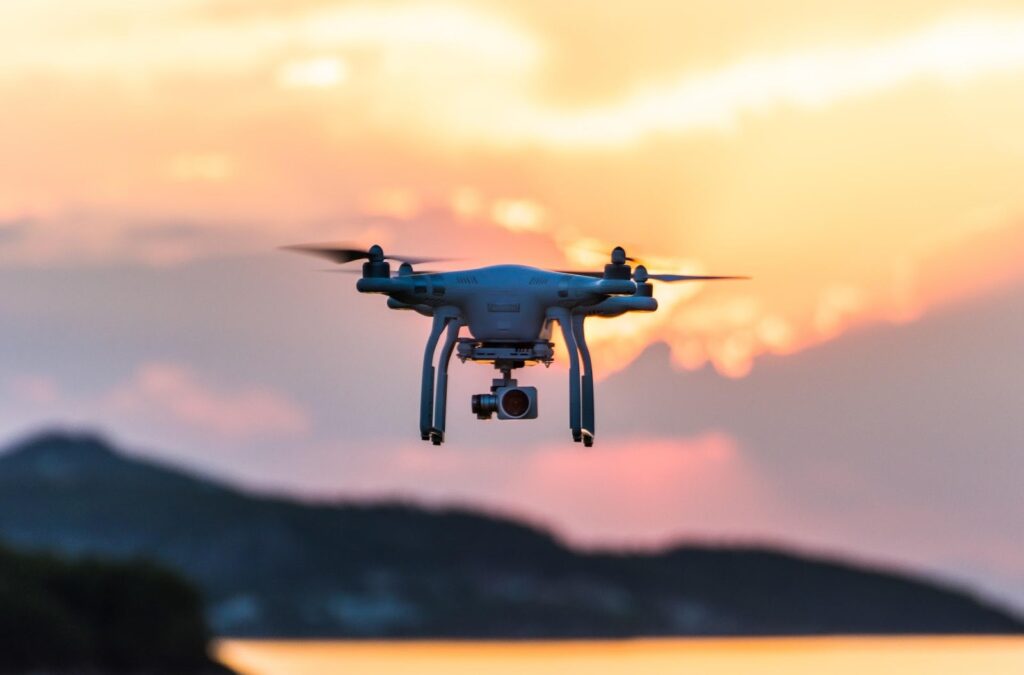
A gimbal is a motorized device that helps stabilize your drone’s camera, allowing you to capture smooth and steady shots. Look for drones with three-axis gimbals for optimal stability and reduced vibrations, especially when shooting in windy conditions or at high speeds. Smooth and stable footage is essential for achieving a cinematic look.
Intelligent Flight Modes
Many drones come equipped with intelligent flight modes that can help you capture dynamic shots with ease. Features like ActiveTrack, Point of Interest, and Waypoints allow you to automate certain movements and focus on framing your shots effectively. Familiarize yourself with these modes and experiment with different settings to enhance your cinematic shots.
Manual Camera Settings
While automatic modes can be convenient, taking control of your drone’s camera settings can elevate the quality of your footage. Experiment with manual exposure, white balance, shutter speed, and ISO to achieve the desired look and mood for your cinematic shots. Understanding these settings will give you more creative control and flexibility in post-production.
Real-Time Monitoring
Having a clear view of what your drone’s camera sees is essential for framing your shots accurately. Invest in a quality monitor or use the dedicated app on your smartphone or tablet to monitor the live feed from your drone’s camera. Real-time monitoring allows you to make adjustments on the fly and ensure that you’re capturing the best possible shots.
This image is property of blog.stockmusic.net.
Planning Your Shots
Capturing cinematic shots with a drone requires careful planning and preparation. Before you take off, consider the following factors to ensure that your footage tells a compelling story and evokes the desired emotions:
Scouting Locations
Choose locations that are visually interesting and offer a variety of elements to enhance your footage. Look for dynamic landscapes, architectural structures, bodies of water, and natural lighting conditions that can add depth and dimension to your shots. Scouting locations beforehand will help you visualize your shots and plan your flight path accordingly.
Establishing Shot List
Create a shot list that outlines the specific shots you want to capture during your flight. Consider different camera angles, movements, and focal points to create a visually engaging sequence of shots. Think about wide establishing shots, detailed close-ups, and sweeping aerial panoramas that will add visual interest and diversity to your footage.
Considering Lighting Conditions
Lighting plays a crucial role in setting the mood and tone of your footage. Pay attention to the direction, quality, and intensity of natural light, especially during the golden hour (sunrise and sunset) for warm and soft lighting. Experiment with backlighting, sidelighting, and front lighting to create dramatic shadows and highlights that enhance the cinematic look of your shots.
Adhering to Flight Regulations
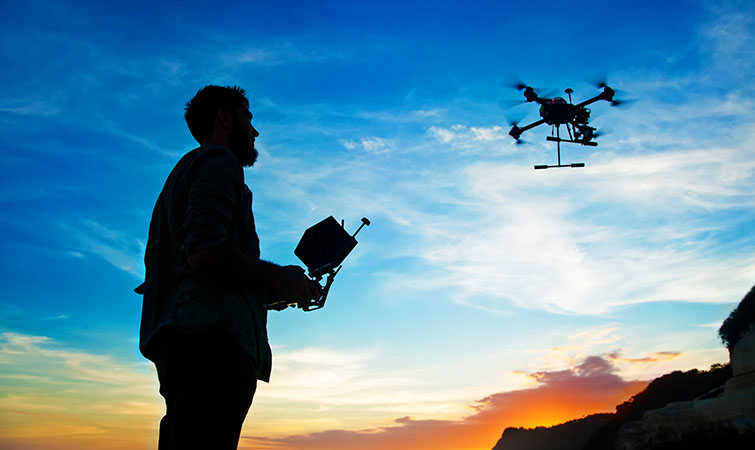
Before you take to the skies, familiarize yourself with local drone regulations and airspace restrictions in your area. Check for any restricted zones, no-fly areas, and altitude limits to ensure that you’re flying safely and legally. Adhering to flight regulations will help you avoid fines, accidents, and conflicts with other aircraft in the airspace.
This image is property of pbblogassets.s3.amazonaws.com.
Mastering Cinematic Techniques
Now that you’ve familiarized yourself with your drone’s features and planned your shots effectively, it’s time to master cinematic techniques that will elevate the quality of your footage. Experiment with the following techniques to add cinematic flair to your shots:
Establishing Shots and Reveals
Start your drone footage with wide establishing shots that set the scene and provide context for the viewer. Establishing shots can be static or slowly moving to reveal the location and create a sense of scale. Consider combining establishing shots with dynamic movement or revealing elements in the frame to add intrigue and draw the viewer’s attention.
Utilizing Movement and Motion
Movement adds dynamism and visual interest to your shots, creating a sense of immersion and engagement for the viewer. Experiment with various movements like pans, tilts, orbits, and tracking shots to convey depth and perspective. Smooth and controlled movements will add cinematic quality to your footage and draw the viewer into the scene.
Incorporating Subject Tracking
Subject tracking allows you to maintain focus on a specific subject or object as it moves through the frame. Use intelligent flight modes like ActiveTrack or manual control to track moving subjects effectively and keep them centered in the frame. Subject tracking adds a dynamic element to your shots and enhances the narrative flow of your footage.
Implementing Slow Motion
Slow-motion footage can add drama, emotion, and impact to your shots, highlighting intricate details and creating a sense of awe. Experiment with shooting at higher frame rates and slowing down the footage in post-production to create cinematic slow-motion sequences. Use slow motion sparingly to accentuate key moments and enhance the visual storytelling of your footage.
Creating Visual Transitions
Smooth and seamless transitions between shots can enhance the flow and continuity of your footage, creating a cohesive visual narrative. Experiment with creative transitions like fades, wipes, and match cuts to link different shots and scenes together. Visual transitions can add a professional touch to your footage and create a cinematic viewing experience for the audience.
Experimenting with Camera Movement
Dynamic camera movements can add energy, excitement, and drama to your shots, capturing the viewer’s attention and evoking emotions. Experiment with drone movements like dolly zooms, crane shots, and flyovers to create compelling visuals and unique perspectives. Combine different camera movements to create visually stunning sequences that convey a sense of movement and exploration.
This image is property of i.ytimg.com.
Post-Processing and Editing Techniques
After capturing your footage with your drone, the post-processing and editing phase is where you can truly refine and polish your cinematic shots. Utilize editing software and techniques to enhance the visual quality, color grading, and storytelling of your footage:
Color Grading and Correction
Color grading is the process of adjusting the colors, contrast, and overall look of your footage to achieve a specific mood or style. Experiment with different color profiles, presets, and adjustment tools to create a cohesive visual aesthetic for your footage. Consider using LUTs (Look-Up Tables) to apply cinematic color grades and corrections that enhance the overall look of your shots.
Adding Music and Sound Design
Music and sound design play a crucial role in enhancing the emotional impact and storytelling of your footage. Choose music tracks, sound effects, and ambient sounds that complement the mood and pacing of your shots. Sync the music with the visual rhythm of your footage to create a seamless audio-visual experience that immerses the viewer in the cinematic world you’ve created.
Incorporating Text and Graphics
Text overlays, graphics, and visual elements can add context, information, and storytelling elements to your footage. Use text to introduce locations, characters, or key points in your narrative. Experiment with graphic overlays, animations, and visual effects to create dynamic visual presentations that engage the viewer and enhance the cinematic quality of your shots.
Enhancing Visual Effects
Visual effects can add a touch of magic and creativity to your footage, transforming ordinary shots into cinematic masterpieces. Experiment with digital effects like speed ramps, lens flares, motion blur, and compositing to create dynamic and visually compelling shots. Use visual effects sparingly to enhance specific moments and add visual interest to your footage without overwhelming the viewer.
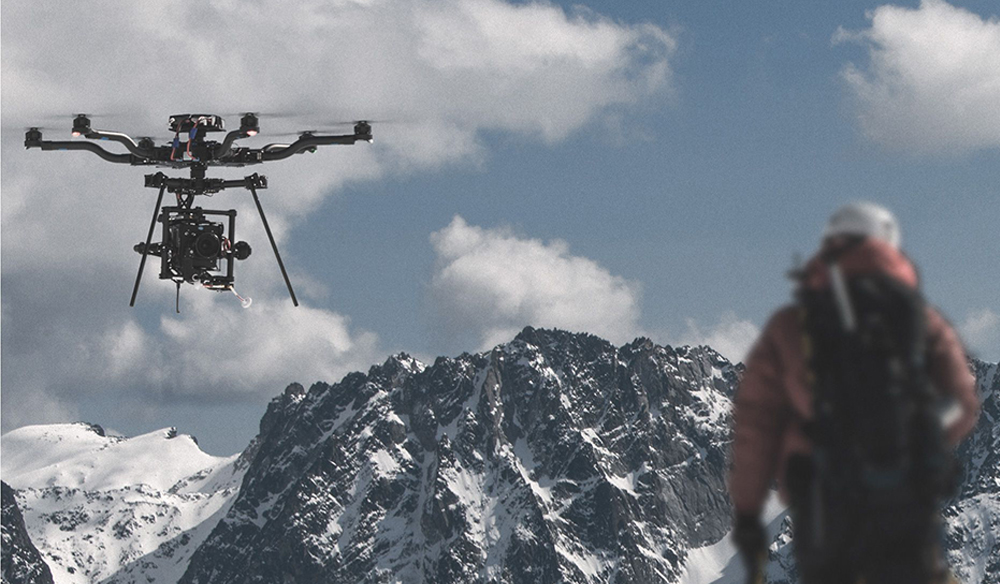
This image is property of pbblogassets.s3.amazonaws.com.
Sharing Your Cinematic Masterpieces
Once you’ve captured, edited, and finalized your cinematic drone shots, it’s time to share your masterpieces with the world. Consider the following tips for showcasing your cinematic footage and connecting with your audience:
Social Media Platforms
Social media platforms like YouTube, Vimeo, Instagram, and Facebook are ideal for sharing your cinematic drone shots with a wide audience. Create a dedicated channel or page to showcase your best work, engage with viewers, and build a community of fellow drone enthusiasts. Utilize hashtags, descriptions, and tags to reach a larger audience and connect with like-minded creators.
Film Festivals and Contests
Enter your cinematic drone shots into film festivals, contests, and competitions to gain recognition, exposure, and feedback from industry professionals and fellow filmmakers. Submit your best work to drone film festivals, aerial photography contests, and cinematography showcases to showcase your talent and creativity. Participating in festivals can open doors to new opportunities and collaborations in the filmmaking industry.
Collaborating with Filmmakers
Collaborating with filmmakers, directors, and creatives in your area can help you expand your skills, network, and portfolio. Partner with professionals who share your passion for storytelling and visual storytelling to create collaborative projects that push the boundaries of cinematic drone cinematography. Working with a team can inspire new ideas, perspectives, and techniques that elevate the quality of your footage and broaden your creative horizons.
Building Your Portfolio
Curate a portfolio of your best cinematic drone shots to showcase your skills, style, and versatility to potential clients, collaborators, and employers. Create a professional website, demo reel, or online portfolio that highlights your strengths, accomplishments, and unique artistic vision. Update your portfolio regularly with new projects, behind-the-scenes footage, and testimonials to attract attention and opportunities in the filmmaking industry.
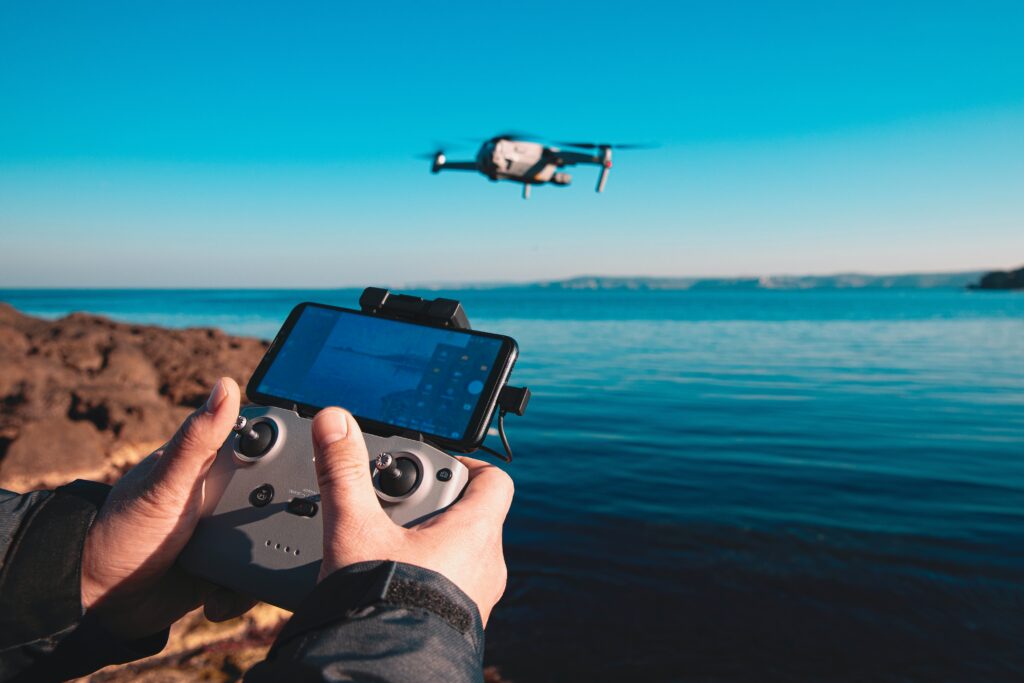
This image is property of kajabi-storefronts-production.kajabi-cdn.com.
Conclusion
Capturing cinematic shots with a drone is a rewarding and creative process that allows you to explore new perspectives, tell compelling stories, and evoke emotions through visual storytelling. By understanding your drone’s features, planning your shots effectively, mastering cinematic techniques, and utilizing post-processing and editing techniques, you can elevate the quality of your footage and create cinematic masterpieces that captivate and inspire audiences. So grab your drone, take to the skies, and unleash your creativity to capture breathtaking aerial shots that will leave a lasting impact on viewers worldwide. Happy flying!

