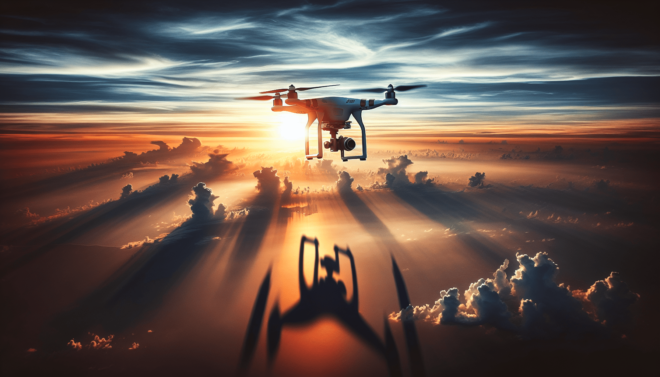
Correcting Horizon Tilt in Drone Footage Using DaVinci Resolve
Have you ever captured breathtaking aerial footage with your drone only to realize later that the horizon is slightly tilted in your video? Don’t worry, in this guide, I will walk you through how to correct horizon tilt in your drone footage using DaVinci Resolve.
Understanding Horizon Tilt in Drone Footage
Before we dive into the steps of correcting the horizon tilt in your drone footage, it’s essential to understand what causes it. Horizon tilt occurs when your drone is not completely level during flight, resulting in a skewed horizon line in your video. This can happen due to various reasons, such as strong winds, improper calibration, or even just human error during piloting.
Importing Your Drone Footage Into DaVinci Resolve
To begin correcting the horizon tilt in your drone footage using DaVinci Resolve, the first step is to import your video clip into the software. Follow these simple steps to import your footage:
- Open DaVinci Resolve and create a new project.
- Click on the Media tab at the bottom of the screen.
- Locate your drone footage files on your computer and drag them into the Media Pool section.
Once you have imported your footage, you are ready to start correcting the horizon tilt.
Correcting Horizon Tilt Using the Inspector Tool
DaVinci Resolve offers a powerful tool called the Inspector, which allows you to make precise adjustments to your footage, including correcting the horizon tilt. Follow these steps to use the Inspector tool to correct the horizon tilt:
- Select the clip with the tilted horizon in the timeline.
- Click on the Inspector icon in the top-right corner of the interface.
- In the Inspector panel, navigate to the Transform section.
- Adjust the Rotation parameter to straighten the horizon line. You can use the slider or manually enter a value to rotate the clip.
By using the Inspector tool in DaVinci Resolve, you can easily correct the horizon tilt in your drone footage and make your video look more professional.
Using the Horizon Correction Filter
In addition to manually adjusting the rotation in the Inspector tool, DaVinci Resolve also offers a specialized filter specifically designed to correct horizon tilt in drone footage. Here’s how you can use the Horizon Correction filter:
- Select the clip with the tilted horizon in the timeline.
- Go to the Effects Library on the right side of the interface.
- Search for the Horizon Correction filter and drag it onto the clip.
- In the Inspector panel, adjust the Horizon Angle parameter to straighten the horizon line.
The Horizon Correction filter in DaVinci Resolve is a quick and effective way to correct horizon tilt in your drone footage without the need for manual adjustments.
Fine-Tuning the Horizon Tilt Correction
After applying the necessary corrections to the horizon tilt in your drone footage, it’s essential to fine-tune the adjustments to ensure a seamless and natural-looking result. Here are some additional tips for fine-tuning the horizon tilt correction:
- Keyframing: If your drone footage includes dynamic movements or changes in the horizon line, you can use keyframing to animate the horizon tilt correction throughout the clip.
- Aspect Ratio: Consider the aspect ratio of your final video, as adjusting the horizon tilt may impact the framing and composition of your footage.
- Previewing: Always preview your corrections in real-time to ensure that the horizon tilt looks natural and not overly adjusted.
By fine-tuning the horizon tilt correction in your drone footage, you can achieve a visually stunning result that enhances the overall quality of your video.
Exporting Your Corrected Drone Footage
Once you have corrected the horizon tilt in your drone footage using DaVinci Resolve, the final step is to export your video with the adjustments applied. Follow these steps to export your corrected drone footage:
- Click on the Deliver tab at the bottom of the interface.
- Select the format and resolution settings for your exported video.
- Choose the destination folder for the exported file.
- Click on the Add to Render Queue button to start the export process.
After the export process is complete, you can now enjoy your drone footage with the horizon tilt corrected and ready to be shared with the world.
Conclusion
Correcting horizon tilt in drone footage using DaVinci Resolve is a straightforward process that can significantly improve the overall quality of your aerial videos. By understanding the causes of horizon tilt, utilizing the Inspector tool and Horizon Correction filter, and fine-tuning your adjustments, you can achieve professional-looking results with ease. So next time you capture stunning drone footage, remember these tips to ensure a perfectly leveled horizon in your videos. Happy editing!

