
How Do I Use ND Filters In Drone Photography?
Drone photography has become increasingly popular, allowing you to capture stunning aerial shots from a unique perspective. One essential tool for enhancing your drone photography is using ND filters. But how exactly do you use ND filters in drone photography? Let’s dive into the details and explore the benefits of using ND filters to level up your aerial photography game.
Understanding ND Filters
ND filters, short for Neutral Density filters, are essential accessories for photographers looking to control the amount of light entering their camera lens. These filters are designed to reduce the amount of light hitting the camera’s sensor without affecting the color or contrast of the image. In drone photography, ND filters help to achieve a balanced exposure and avoid overexposed or washed-out images.
Types of ND Filters
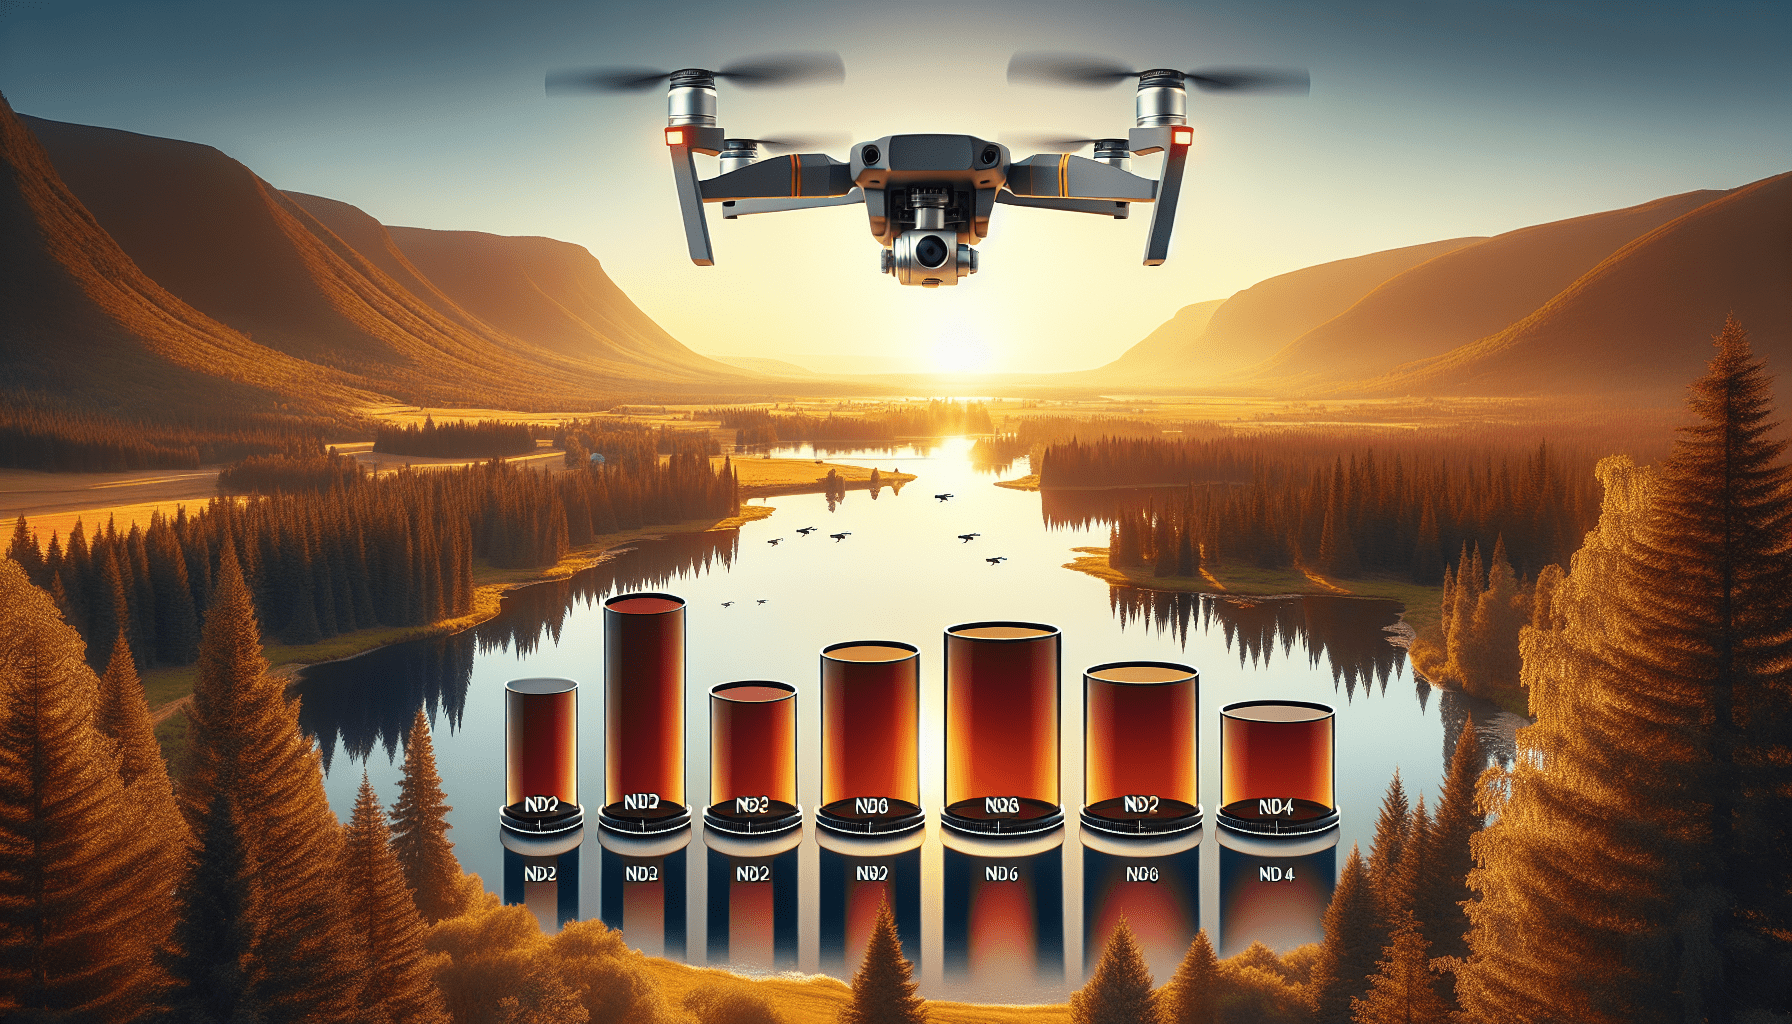
ND filters come in various strengths, measured in stops, to accommodate different lighting conditions. The most common ND filters include ND2, ND4, ND8, ND16, ND32, and ND64, each offering a different level of light reduction. When choosing an ND filter for your drone photography, consider the lighting conditions and the effect you want to achieve in your shots.
Benefits of Using ND Filters in Drone Photography
Using ND filters in drone photography offers several benefits that can significantly improve the quality of your aerial shots. Let’s explore some of the key advantages of incorporating ND filters into your drone photography gear.
Reduced Overexposure
One of the primary benefits of using ND filters in drone photography is reducing overexposure in your images. By limiting the amount of light entering the camera lens, ND filters help prevent blown-out highlights and maintain details in bright areas of the image. This is especially important when shooting in bright sunlight or reflective surfaces.
Balanced Exposures
ND filters are essential for achieving balanced exposures in challenging lighting conditions. Whether you’re shooting landscapes during the golden hour or capturing motion blur in a waterfall, ND filters allow you to control the exposure and achieve the desired effects without compromising image quality. This level of control is particularly useful when shooting long exposure shots from a drone.
Improved Image Quality
In addition to preventing overexposure and achieving balanced exposures, ND filters can enhance the overall image quality of your drone photography. By reducing the amount of light hitting the camera sensor, ND filters help minimize lens flare, ghosting, and other unwanted artifacts, resulting in sharper and more vibrant aerial shots. This improvement in image quality is particularly noticeable when capturing scenes with high dynamic range.
Creative Effects
Beyond improving exposure and image quality, ND filters open up a world of creative possibilities for your drone photography. With the ability to control the amount of light entering the camera lens, you can experiment with different shutter speeds, aperture settings, and motion blur effects to add depth and dimension to your aerial shots. Whether you’re shooting cinematic videos or stunning landscapes, ND filters allow you to unleash your creativity and elevate your drone photography to new heights.
How to Use ND Filters in Drone Photography
Now that you understand the importance and benefits of using ND filters in drone photography, let’s dive into the practical aspect of how to use these filters effectively to capture breathtaking aerial shots. Follow these step-by-step guidelines to master the art of using ND filters in your drone photography adventures.
Step 1: Choose the Right ND Filter
Before you start flying your drone and capturing aerial shots, it’s essential to select the right ND filter for the lighting conditions and the effect you want to achieve. Consider factors such as the time of day, the amount of available light, and the desired level of light reduction when choosing an ND filter for your drone. Remember, it’s better to use a stronger ND filter than a weaker one to avoid overexposure in your images.
Step 2: Install the ND Filter on Your Drone Camera
Once you’ve chosen the appropriate ND filter for your drone photography, the next step is to install the filter on your drone’s camera. Most ND filters are designed to be easily attached to the camera lens of popular drone models such as DJI, Autel, and Parrot. Follow the manufacturer’s instructions to securely mount the ND filter on your drone camera, ensuring that it’s properly aligned and free from fingerprints or smudges that could affect image quality.
Step 3: Set the Camera Parameters
After installing the ND filter on your drone camera, it’s crucial to adjust the camera parameters to achieve the desired exposure and image quality. Start by setting the ISO, aperture, and shutter speed based on the lighting conditions and the level of light reduction provided by the ND filter. Experiment with different settings to find the optimal configuration for your aerial shots, keeping in mind the creative effects and visual style you want to achieve in your drone photography.
Step 4: Fine-Tune Your Composition
With the ND filter in place and the camera parameters adjusted, it’s time to fine-tune your composition and framing to capture compelling aerial shots. Take advantage of the unique perspective offered by drone photography to explore different angles, heights, and viewpoints that showcase the beauty of the landscape or subject you’re photographing. Pay attention to the framing, symmetry, and balance of your composition to create visually striking and engaging images with the help of ND filters.
Step 5: Monitor the Exposure
As you start capturing aerial shots with the ND filter, it’s essential to monitor the exposure and make any necessary adjustments to ensure proper lighting and image quality. Keep an eye on the histogram displayed on your drone’s controller or mobile device to check the distribution of tones in your images and avoid underexposed or overexposed areas. If needed, fine-tune the camera settings or switch to a different ND filter to achieve the desired exposure for your drone photography.
Step 6: Post-Processing and Editing
Once you’ve captured a series of aerial shots using ND filters, the final step is to post-process and edit your images to enhance their visual appeal. Use photo editing software such as Adobe Lightroom or Photoshop to fine-tune the exposure, color balance, contrast, and sharpness of your drone photos. Experiment with different editing techniques to bring out the best in your aerial shots and showcase the beauty of the landscape or subject you’ve captured with the help of ND filters.
Conclusion
In conclusion, using ND filters in drone photography is a game-changer for enhancing the quality, creativity, and visual impact of your aerial shots. By understanding the purpose and benefits of ND filters, mastering the technical aspects of using these filters, and unleashing your creativity through experimentation and exploration, you can take your drone photography skills to the next level. Whether you’re a beginner looking to improve your drone photography or an experienced aerial photographer seeking to elevate your craft, ND filters are indispensable tools that can make a significant difference in the quality and artistic vision of your drone shots. So go ahead, grab your drone, attach those ND filters, and unleash your creativity in the vast skies of aerial photography. Happy flying and happy shooting!